I grew up eating many variations of chè, or traditional Vietnamese sweet soups and puddings. As a child, I enjoyed them just as much as I enjoyed western desserts like cake or ice cream. Plus, I didn’t have easy access to these Vietnamese desserts unless we stumbled upon a Vietnamese bakery or were in San Jose or Orange County. My mom never made very much Vietnamese food given our favorite Vietnamese dishes can be very laborious, and there was no way she’d ever go to the great lengths it takes to put together a Vietnamese dessert like these.
I never realized when I was younger how much healthier most of these Asian desserts were because they actually had good-for-you ingredients like real fruit and even beans — yes, beans! The one my mom got for me most often in my early years was che dau xanh, or mung bean pudding. It’s a pudding-like che that has mung beans cooked down until soft with some sugar, and sometimes flavored with pandan. Then it’s topped with a very luscious, whipped coconut cream. Another one I enjoyed occasionally was che ba mau, also known as “three colored dessert.” This one has layers of pandan jellies, mashed sweetened mung bean, red beans (sometimes even kidney beans), and a thick layer of sweetened coconut cream.
One version of che that I’ve been thinking about a lot since we were in the Philippines (halo halo!) was che thai, which is translated to mean “Vietnamese fruit cocktail,” in the style of many Thai desserts, hence the “Thai” in the name. I suppose that to describe it a a “fruit cocktail” is fairly accurate given it’s a few different types of fruits and jellies served in a sweetened “soup” that uses coconut milk/cream as its base. So I decided that once the weather got warmer and we had company over that I’d make it. Chris’s parents have arrived for their annual visit, so this will be their first dessert at home with us. It’s pretty straightforward and easy given most of the ingredients are from cans: canned longan, lychee, jackfruit, toddy palm seeds, young coconut flesh, and even aiyu jelly can be used. If you don’t want to use aiyu jelly from a can, you can either make your own, or make a pandan jelly. I made and cubed pandan jelly this morning using agar agar (seaweed) powder – it took less than ten minutes! I also sliced up some jackfruit and toddy palm seeds, and then peeled and cut some fresh mango. I added some canned longans whole. And as the last step, I mixed the “soup” base, which was about a cup of coconut milk, some coconut water, and added some jackfruit syrup/juice from the can until the sweetness was just right. I mixed everything in a big bowl and put it in the fridge to cool.
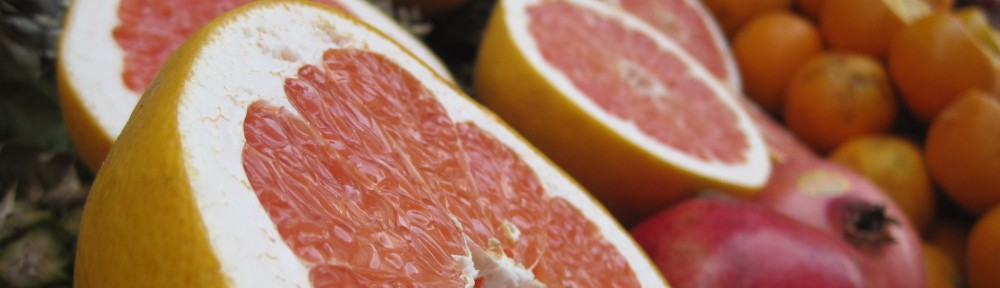
The che thai was a success: everyone enjoyed it! Chris’s mom even had seconds. And Kaia finished the little bowl I prepared her; she was especially fascinated by the pandan jellies and got so excited she was able to eat jellies with her mama’s approval ( did make them, after all!). If it were in season, I would have liked to include pomegranate seeds to give the che thai a red color to make the soup “pop” more, but I guess I can save that for another time. Some recipes, to add a “red” fruit, will take canned Chinese water chestnuts, chop them into small pieces, coat them in tapioca starch and red food coloring, and then boil them to infuse the red color into the water chestnuts. But I am trying to avoid artificial colors and flavors as much as I can, so I nixed this. And I don’t think anyone would have thought that could enhance tonight’s dessert. Sometimes, it really is the simplest desserts that are quite delicious.