Canele

One interesting thing we learned during the wine tours we did in the Saint Emilion region yesterday was that egg whites have historically been used in large portions to take out excess tannins from the wine barrels between individual wine storing. Once upon a time, this process had to be manually done by workers at wineries and vineyards, and they’d individually crack each and every egg, separate the yolk from the white, and then apply the mixed whites to the barrels. When one of the wine tour guides said this, I immediately thought, I wonder if they use all those leftover egg yolks for custard, perhaps crème brulee? No, I was wrong. In this region, they use it for the regional treat for which Bordeaux is famous – the canele! Although I’d had a few canele in New York from French bakeries, I’d never thought much about the way they were made and what ingredients were used to make it; I just assumed whole eggs were used. After yesterday, now I know that they are basically like a custard, heavy on the yolks, with a slightly crispy exterior in a cute scalloped and almost mini-tube like mold.

On our way back from Saint Emilion to the city of Bordeaux yesterday evening, our guide took us to La Toque Cuivree, a bakery famous for its award-winning canele. They are so famous that they only produce this one dessert – just in three different sizes – bite sized, “lunch,” and “gros.” They had recently added caramels that have little bits of canele incorporated into them to their tiny line-up of goodies sold (I’m sure they used the stale canele for these to eliminated waste).

We brought them back to our hotel and tried one each… And then immediately both went for our seconds. I hate to be cliché about this, but they were simply perfect and exactly as Henri, our guide, described they should be: slightly crunchy and crackly on the outside, with a moist, nearly gooey creamy custard on the inside. The single flavor that they came in from La Toque Cuivree was rum, and the rum flavor was very strong and forward. “You must eat them today,” he warned us, as after a day, they start becoming chewy, which is like a canele crime. Well, I’ve definitely called caneles I’ve had in New York “chewy” on the inside, which obviously means the ones I had were either old or just not made correctly.

The saddest thing about having epicurean experiences like this in far away places is that you know when you go back home, you just won’t get the exact same taste or experience again, and if you do, it will probably cost you. Those “chewy” caneles I’ve had from other bakeries in New York have cost at least two to four times what I paid today in Bordeaux, and that makes me so sad to know I would need to pay more for an inferior product just to eat something closer to him that either slightly resembles the best or just flat out insults its integrity.

Croissants galore

As part of my Christmas gift this past year, Chris got me a croissant making class at Mille Feuille Bakery. The class had just six students, and the baker/owner Oliver, who is from Paris and schooled in pastry there, showed us the different steps to making croissants. It’s actually a three-day process, but he was able to have a lot of the parts pre-made and done for us to condense it into just three hours. In the end, I was able to roll out, shape, fold, egg-wash, and bake 17 croissants – 10 regular, four almond-paste-filled, and three chocolate. I even have dough I took home to make 10 more next weekend!

When I ate my first one at the end of class, it was straight out of the oven – light, airy, subtly sweet, and incredibly buttery with its many, many layers. I could probably have eaten five or six of these without even realizing it. I’d never had a croissant that fresh in my life, and it was just so shocking how light it was, given I knew exactly how much butter went into these beauties.

I had Bart in my purse during the entire class. I wanted to take him with me because although Ed wouldn’t have really enjoyed a baking class, he definitely would have enjoyed the end part of eating all of those babies up. If he were there with me as the baking sheets were coming out of the oven, he probably would have eaten half of them in one sitting. Ed was such a guy – just scarfed down food without realizing exactly how much he was eating. Yet he never seemed to gain weight.

I Dream of Brioche

The first time I heard about brioche was in 2004 when a good friend wrote in my high school yearbook that she thought I was the best thing since sliced brioche bread. I felt a bit ignorant at the time, since although I knew it was a type of bread, I actually had no idea what it consisted of or why that would make me feel particularly special. This was especially embarrassing for me because I’ve always been a lover of all things sugar and butter related, and being the know-it-all dessert-loving teenager that I was, I thought I knew everything there was to know about buttery breads and desserts.

Brioche is probably the richest, most buttery bread I’ve eaten. It’s a bread that is more commonly known as a pastry because of its extremely high butter content. Enriched with not just lots of butter but also many eggs, it’s certainly not your typical toast on a weekday morning. The average recipe you can find for brioche has a flour-butter ratio of 2:1.

Brioche is the kind of pastry that you have at breakfast or tea when you want to indulge. When made properly, it is all at once flaky, delicate, tender, eggy, and subtly sweet. Brioche dough can be made in multiple forms – as brioche à tête (little heads), loaves, buns, as pain au chocolat – brioche dough is like the Play-Doh of breads, as you could make many different types of beautiful, tasty creations with it. The possibilities are endless.

The key to making flaky, tender brioche is cold, cold, cold; it’s crucial that all of your bowls, utensils, and butter are chilled (it also helps to be cold blooded, as well). The colder the kitchen, the more likely your brioche will be a success. The reason for this is that it is critical that the butter that you are incorporating into the dough has not melted. Pockets of fat need to be evenly distributed throughout the dough to result in butter melting in the oven, which will yield the flakiness that is key to a good brioche. Another way to ensure that the butter has not melted before it reaches the oven is to knead the dough either with cold dough hooks on your standing mixer, or with cold utensils by hand (if you are old school like me and want to knead the dough manually).

Brioche is probably the easiest yeast bread to mess up. The reason for this is that while making it, most people would overlook the fact that the dough needs to be really sticky and would either a) make the mistake above so that all the butter melts into the dough, or b) continue adding flour to the dough for greater ease in hand kneading or preventing the dough from sticking too much to the dough hooks. The first time I made brioche, I made mistake b. The brioche dough was extremely sticky, and being a novice, I continued using my warm hands to knead the dough. Annoyed by the stickiness, I continued adding flour until the dough was easy to handle and no longer stuck to my fingers. Big mistake. In the end, while the brioche looked beautiful on the outside, once I broke apart the bread, I realized that I had just made a glorified challah bread – an eggy bread with some fat, but none of the glorious flakiness that is associated with the true pastry.

The one recipe that I have grown to love and use for multiple brioche pastry desserts is Joanne Chang’s basic brioche. The two simplest ways to enjoy brioche are to eat it just as a plain pastry in the form of a loaf, or to make miniature brioche buns and dip them in a sugar and spice mixture. I’ve included recipes for both forms here. To call making brioche “simple” is a bit misleading, as it takes a lot of time and physical effort to knead the dough. In addition, we need even more time to allow the dough to properly proof twice to allow for that amazing light and airiness that will eventually contribute to the light, tender crumb of the final pastry. This is one of those bread-pastries that needs some advance planning and many patient hours. Wouldn’t we all love to have a piece of fresh, warm brioche from a hot oven every day, though? I’m not sure what satisfies me more – the first bite of the brioche when it is piping hot right out of the oven, or the incredible fragrance that fills the house as the combination of butter, sugar, eggs, and yeast work their magic in my oven.

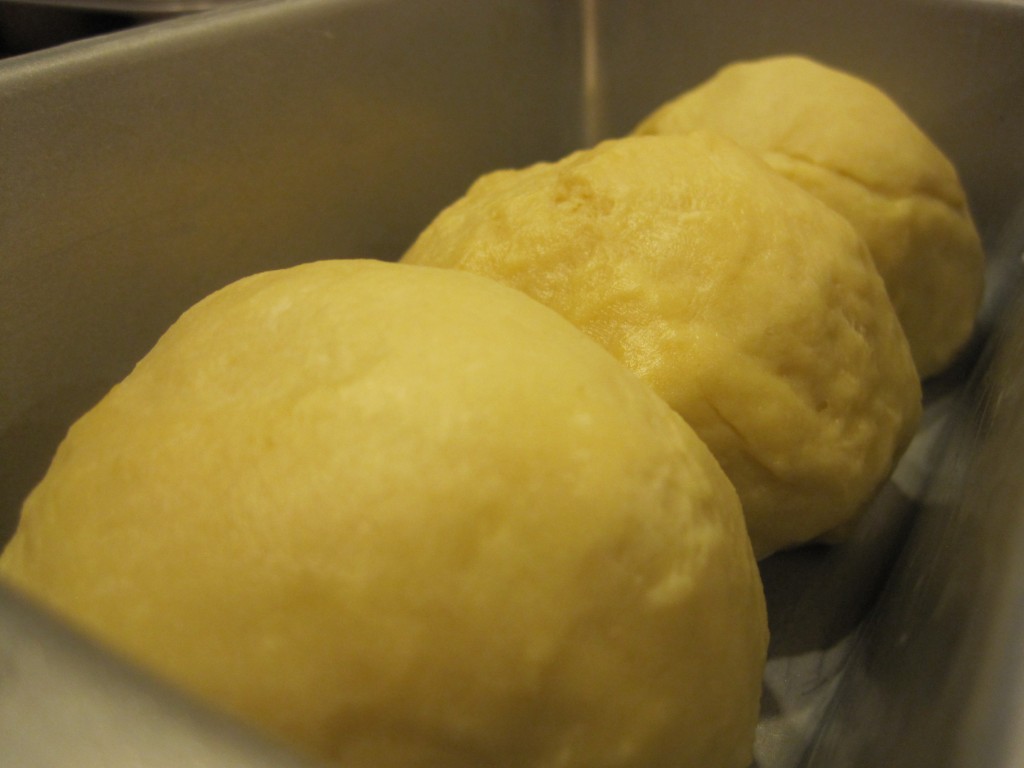
Joanne’s brioche loaf recipe suggests that you form the dough into  a simple rectangle, but after seeing many images of loaves with interesting cuts and shapes, I thought it would be fun to shape three balls, combine them, and then cut slits on the top of each ball.

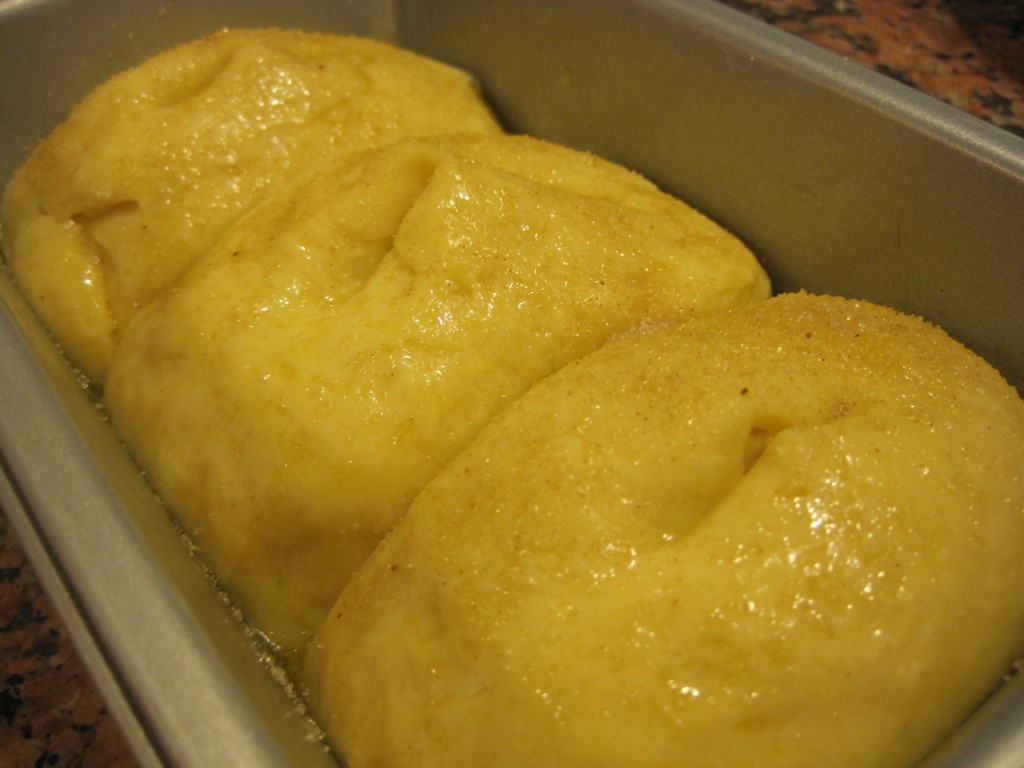
After proofing the second time, cutting slits atop each ball, and sprinkling the top with sugar, this is what the loaf looked like:

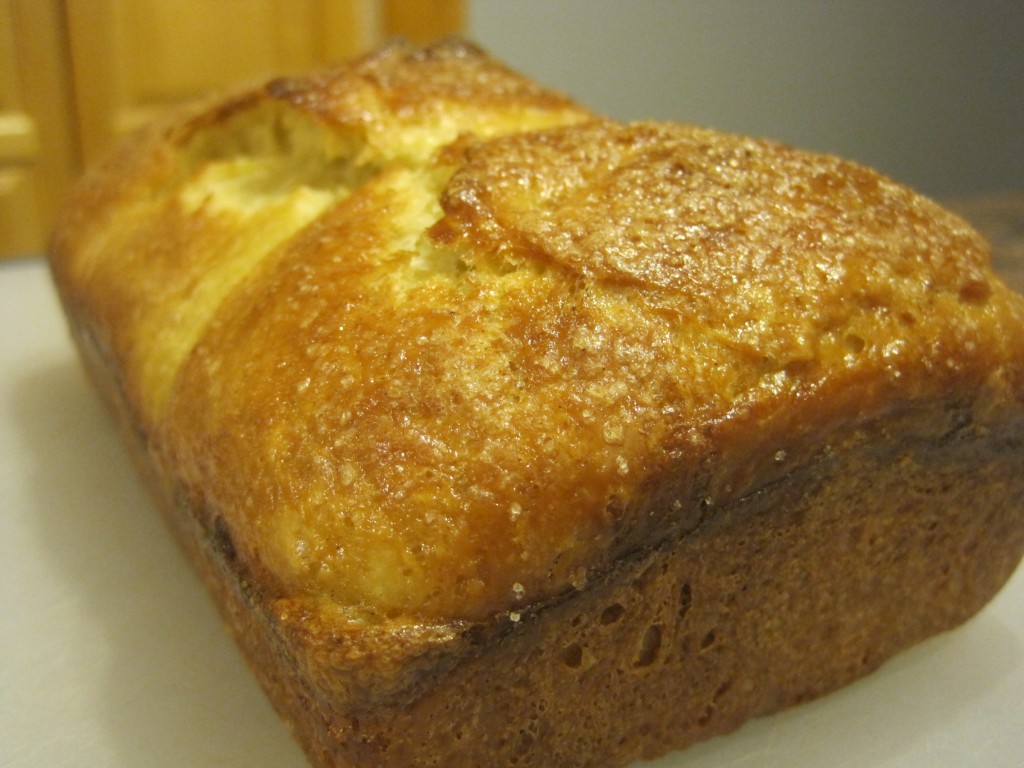
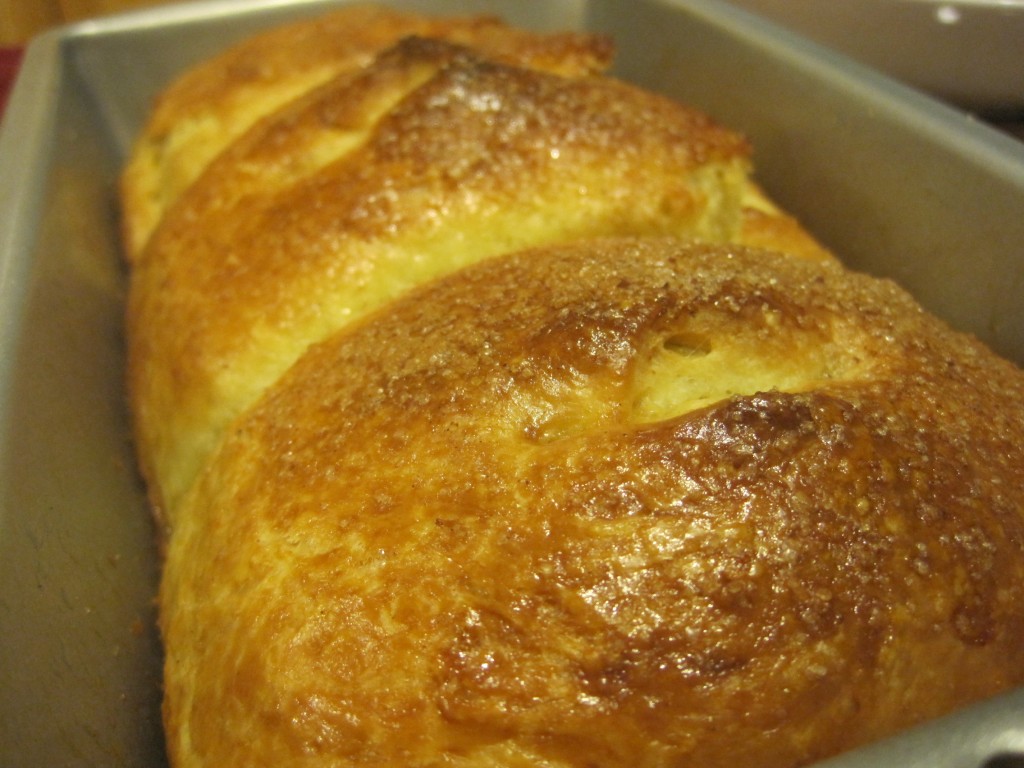
After baking for about 35-45 minutes, this is how my brioche baby turned out – beautifully browned with a happy sheen:

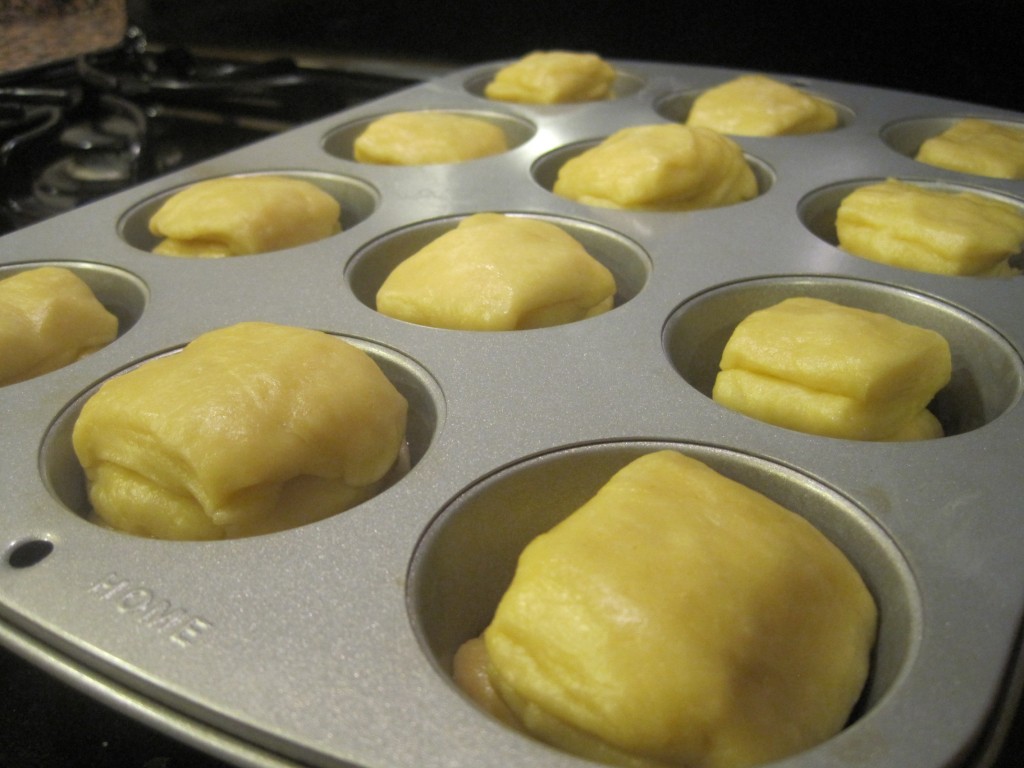
With the second half of the dough, I made the sugar and spice brioche buns from Joanne’s book.

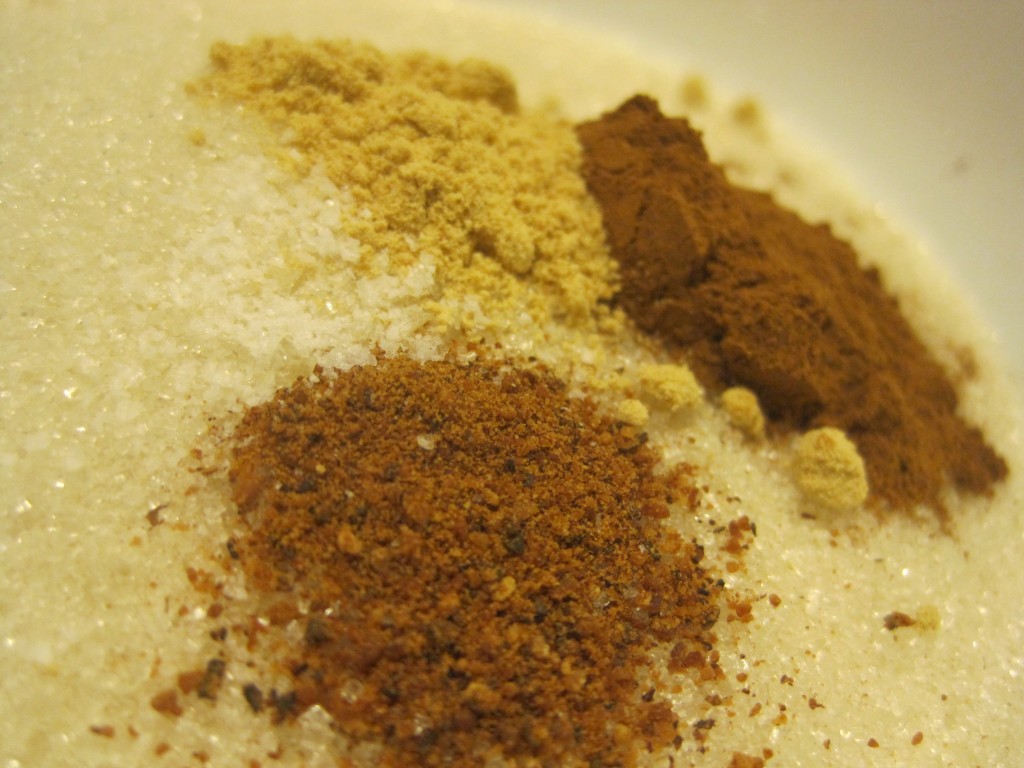
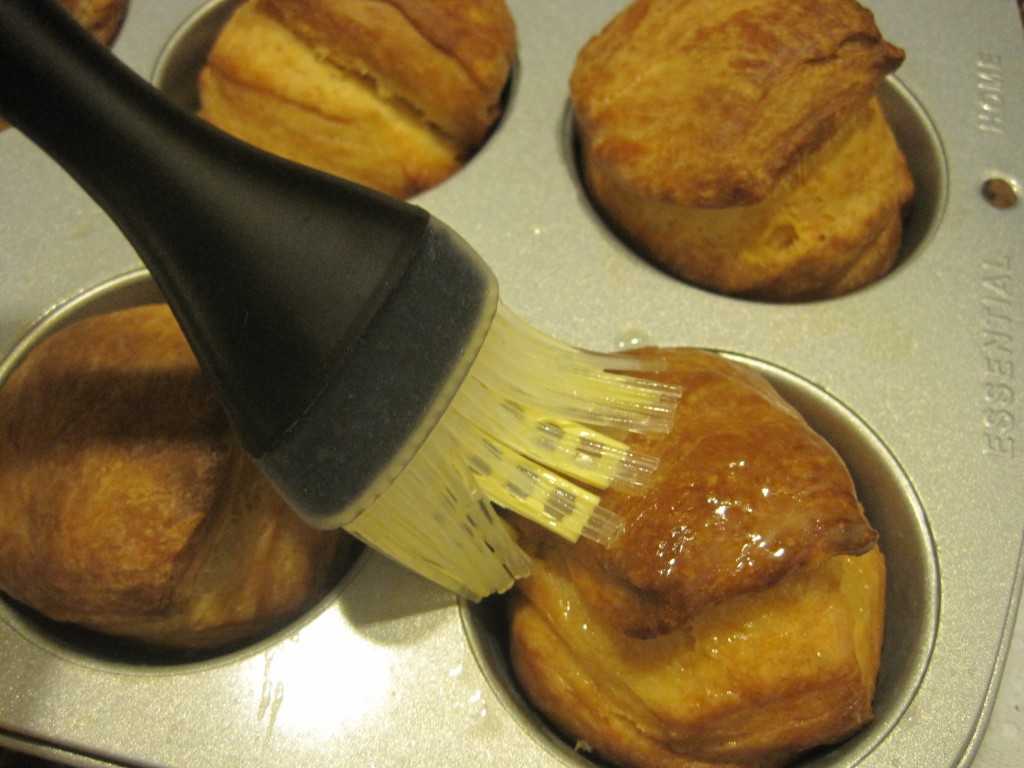
After they came out of the oven, I dipped each bun into butter and rolled them in the cinnamon, nutmeg, ground ginger, and sugar mixture:

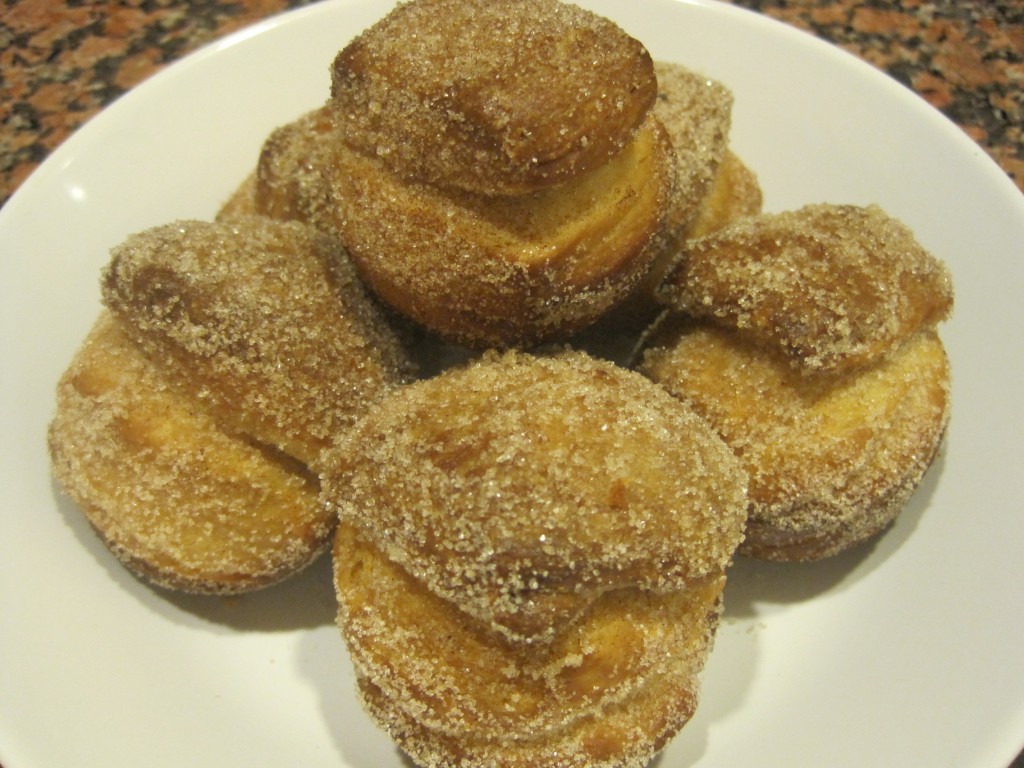
After the butter brushing and the sugar and spice rolling, this is what I eventually presented to my friends:

Both methods are the simplest ways to enjoy brioche. If only someone would present me with fresh brioche every week, maybe I would smile that much more. I guess I can either keep dreaming, or treat myself and make my own dreamy pillows of buttery, sugary delight.

Basic Brioche                                                                                                        Adapted from Flour: Spectacular Recipes from Boston’s Flour Bakery & Café by Joanne Chang

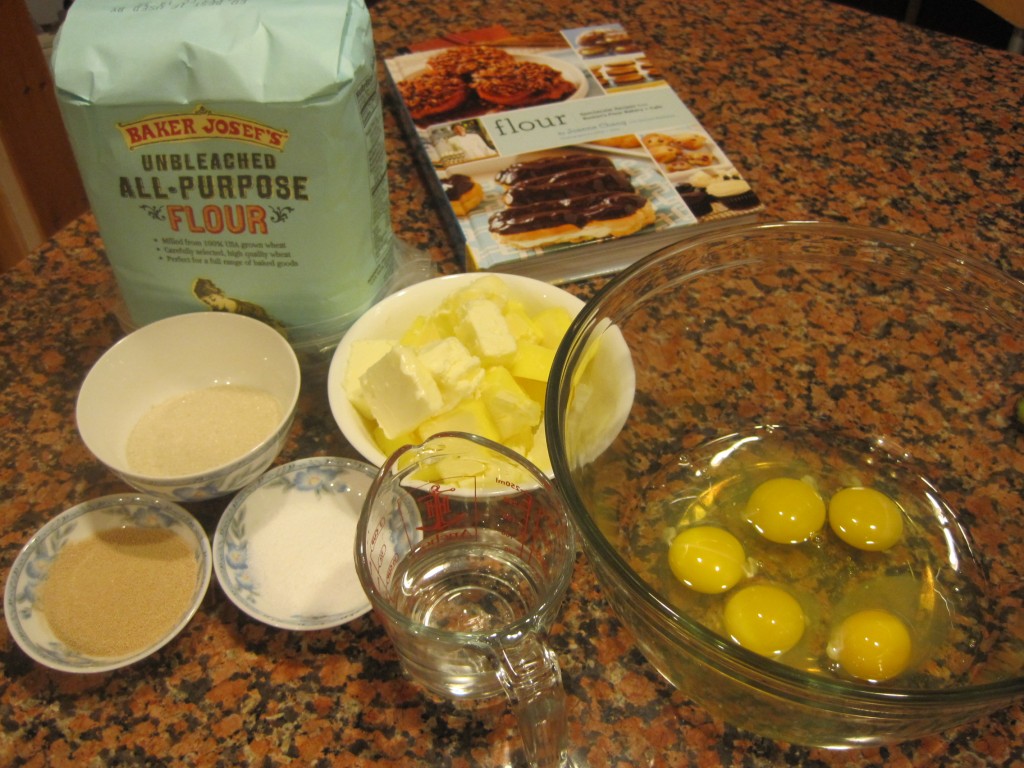
  • 2 1/2 cups (350 grams) unbleached all-purpose flour, plus more if needed
  • 2 1/4 cups (340 grams) bread flour
  • 1 1/2 packages (3 1/4 teaspoons) active dry yeast or 1-ounce (28 grams) fresh cake yeast
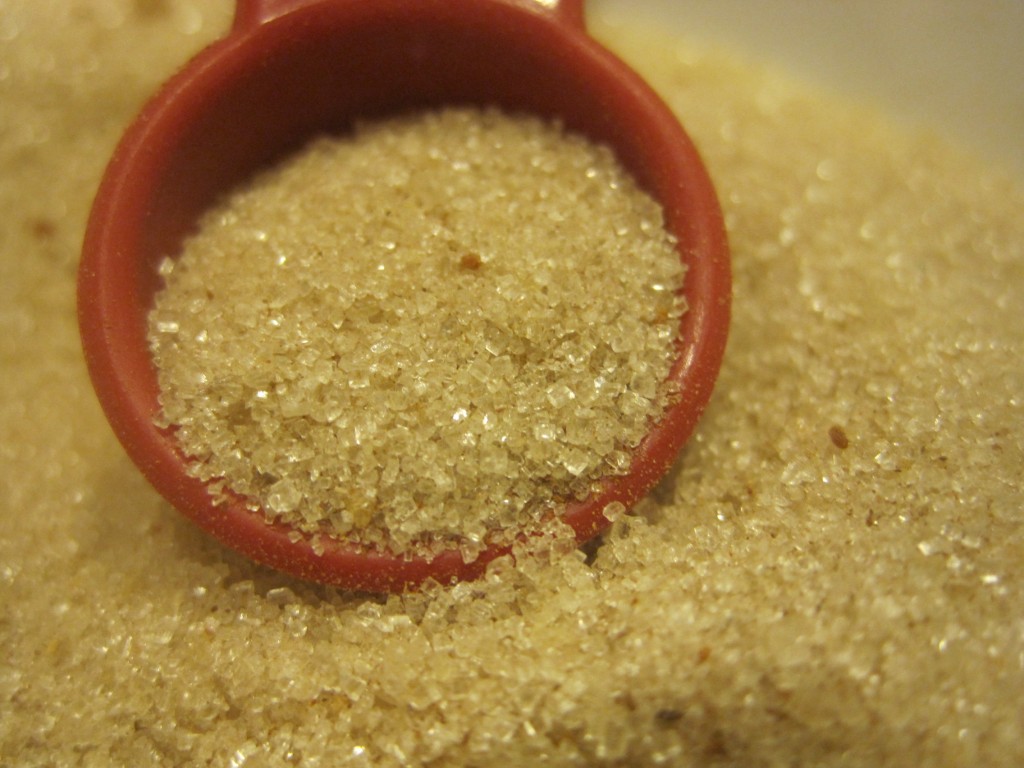
  • 1/3 cup plus 1 tablespoon (82 grams) sugar
  • 1 tablespoon kosher salt
  • 1/2 cup cold water
  • 6 eggs
  • 1 3/8 cups (2 3/4 sticks; 310 grams) unsalted butter, at room temperature, cut into 10 to 12 pieces

Using a stand mixer fitted with the dough hook, combine the all-purpose flour, bread flour, yeast, sugar, salt, water, and 5 of the eggs. Beat on low speed for 3 to 4 minutes, or until all the ingredients are combined. Stop the mixer, as needed, to scrape the sides and bottom of the bowl to make sure all the flour is incorporated into the wet ingredients.

Once the dough has come together, beat on low speed for another 3 to 4 minutes. The dough will be very stiff and seem quite dry.

With the mixer on low speed, add the butter, 1 piece at a time, mixing after each addition until it disappears into the dough. Continue mixing on low speed for about 10 minutes, stopping the mixer occasionally to scrape the sides and bottom of the bowl. It is important for all the butter to be thoroughly mixed into the dough. If necessary, stop the mixer occasionally and break up the dough with your hands to help mix in the butter.

Once the butter is completely incorporated, turn up the speed to medium and beat until the dough becomes sticky, soft, and somewhat shiny, another 15 minutes. It will take some time to come together. It will look shaggy and questionable at the start and then eventually it will turn smooth and silky. Turn the speed to medium-high and beat for about 1 minute. You should hear the dough make a slap-slap-slap sound as it hits the sides of the bowl. Test the dough by pulling at it; it should stretch a bit and have a little give. If it seems wet and loose and more like a batter than a dough, add a few tablespoons of flour and mix until it comes together. If it breaks off into pieces when you pull at it, continue to mix on medium speed for another 2 to 3 minutes, or until it develops more strength and stretches when you grab it. It is ready when you can gather it all together and pick it up in 1 piece.

Put the dough in a large bowl or plastic container and cover it with plastic wrap, pressing the wrap directly onto the surface of the dough. Let the dough proof (that is, grow and develop flavor) in the refrigerator for at least 6 hours or up to overnight At this point you can freeze the dough in an airtight container for up to 1 week.

To make two brioche loaves, generously the bottom and sides of two 9-by-5-inch loaf pans with butter. Divide the dough in half, and then divide each half into three pieces. The dough will feel like cold, clammy Play-Doh. Knead each piece of dough, then form each into a ball. Place three balls of dough into each loaf pan so that the dough balls are touching.

Cover the loaves lightly with plastic wrap and place in a warm spot to proof for 4 to 5 hours, or until the loaves have nearly doubled in size. They should have risen to the rim of the pan and be rounded on the top. When you poke at the dough, it should feel soft, pillowy, and light, as if it’s filled with air (because it is!).

Position the rack in the center of the oven, and preheat it to 350 degrees F.

With a pair of kitchen scissors, cut a slit into the top of each ball of dough. Each loaf should have three slits.

In a small bowl, whisk the remaining egg until blended. Gently brush the tops of the loaves with the beaten egg. Add a sprinkling of sugar if you’d like to the top for some crunch.

Bake for 35-45 minutes, or until the tops and sides of the loaves are completely golden brown. Let cool in the pans on wire racks for 30 minutes, then turn the loaves out of the pans and continue to cool on the racks.

The bread can be stored tightly wrapped in plastic wrap at room temperature for up to 3 days (if it is older than 3 days, try toasting it) or in the freezer for up to a month.

Sugar & Spice Brioche Buns                                                                               Adapted from Flour: Spectacular Recipes from Boston’s Flour Bakery & Café by Joanne Chang

  • ½ recipe Basic Brioche Dough
  • ½ cup (100 grams) sugar
  • ½ teaspoon ground cinnamon
  • ¼ teaspoon ground ginger
  • ¼ teaspoon freshly grated nutmeg
  • Pinch of ground cloves
  • Pinch of kosher salt
  • ¼ cup (1/2 stick/56 grams) unsalted butter, melted

Line 10 cups of a standard 12-cup muffin tin with paper liners or generously butter and flour them.

On a floured work surface, press the dough into a rectangle about 10 by 5 inches. It will have the consistency of cold, damp Play-Doh and should be fairly easy to shape. Using a bench scraper or a chef’s knife, cut the rectangle into 10 equal strips, each about 1 by 5 inches. Cut each strip into five 1-inch squares. You should have fifty 1-inch mini squares of dough.

Place 5 mini squares of brioche into each prepared muffin cup. Cover the pastries lightly with plastic wrap and place in a warm spot to proof for about 1.5 hours, or until the dough is puffy, pillowy, and soft.

Position a rack in the center of the oven, and heat the oven to 350 degrees F.

Bake for about 35-40 minutes, or until golden brown. Let the buns cool in the pan on a wire rack for 5 to 10 minutes, or until they are cool enough to handle. Meanwhile, in a small bowl, stir together the sugar, cinnamon, ginger, nutmeg, cloves, and salt.

When the buns can be handled, brush the tops with the butter. If you have used paper liners, remove the buns from the liners. One at a time, roll each warm bun in the sugar mixture to coat evenly.

The buns are best served warm or within 4 hours of baking. They can be stored in an airtight container at room temperature for up to 1 day, and then warmed in a 300-degree F oven for 5 minutes before serving.


La Joie de Vivre et Manger à Paris

It’s been over two years since I have updated this blog. I stopped mainly because my new job at the time was forcing me to work long hours, and also because it already required me to be in front of a computer for so many hours of the day that once the weekend came, the last thing I wanted to do was be in front of a computer again.

A lot of things have happened in the last two years – lots of new experiences, realizations, and traveling. The most recent and notable travel experience I have had was my first time in Western Europe (France, Italy, Greece, and Turkey). I spent two and a half weeks this summer exploring Europe, and my first stop was in Paris. I’d wanted to come to Paris for as long as I could remember, and this past summer, it finally became a reality. When I had to chose a language to study in freshman year of high school, I unhesitatingly chose French. Although those language skills are close to dead now, during those four years studying French, I gained a deep love of French culture and ways of life. The “je ne sais quoi” leisurely lifestyle and appreciation of fine art and gastronomy were big reasons I’ve been so drawn to French culture. In my mind, the French have a deep understanding of the most important thing in life, and that is the art of living and living well.

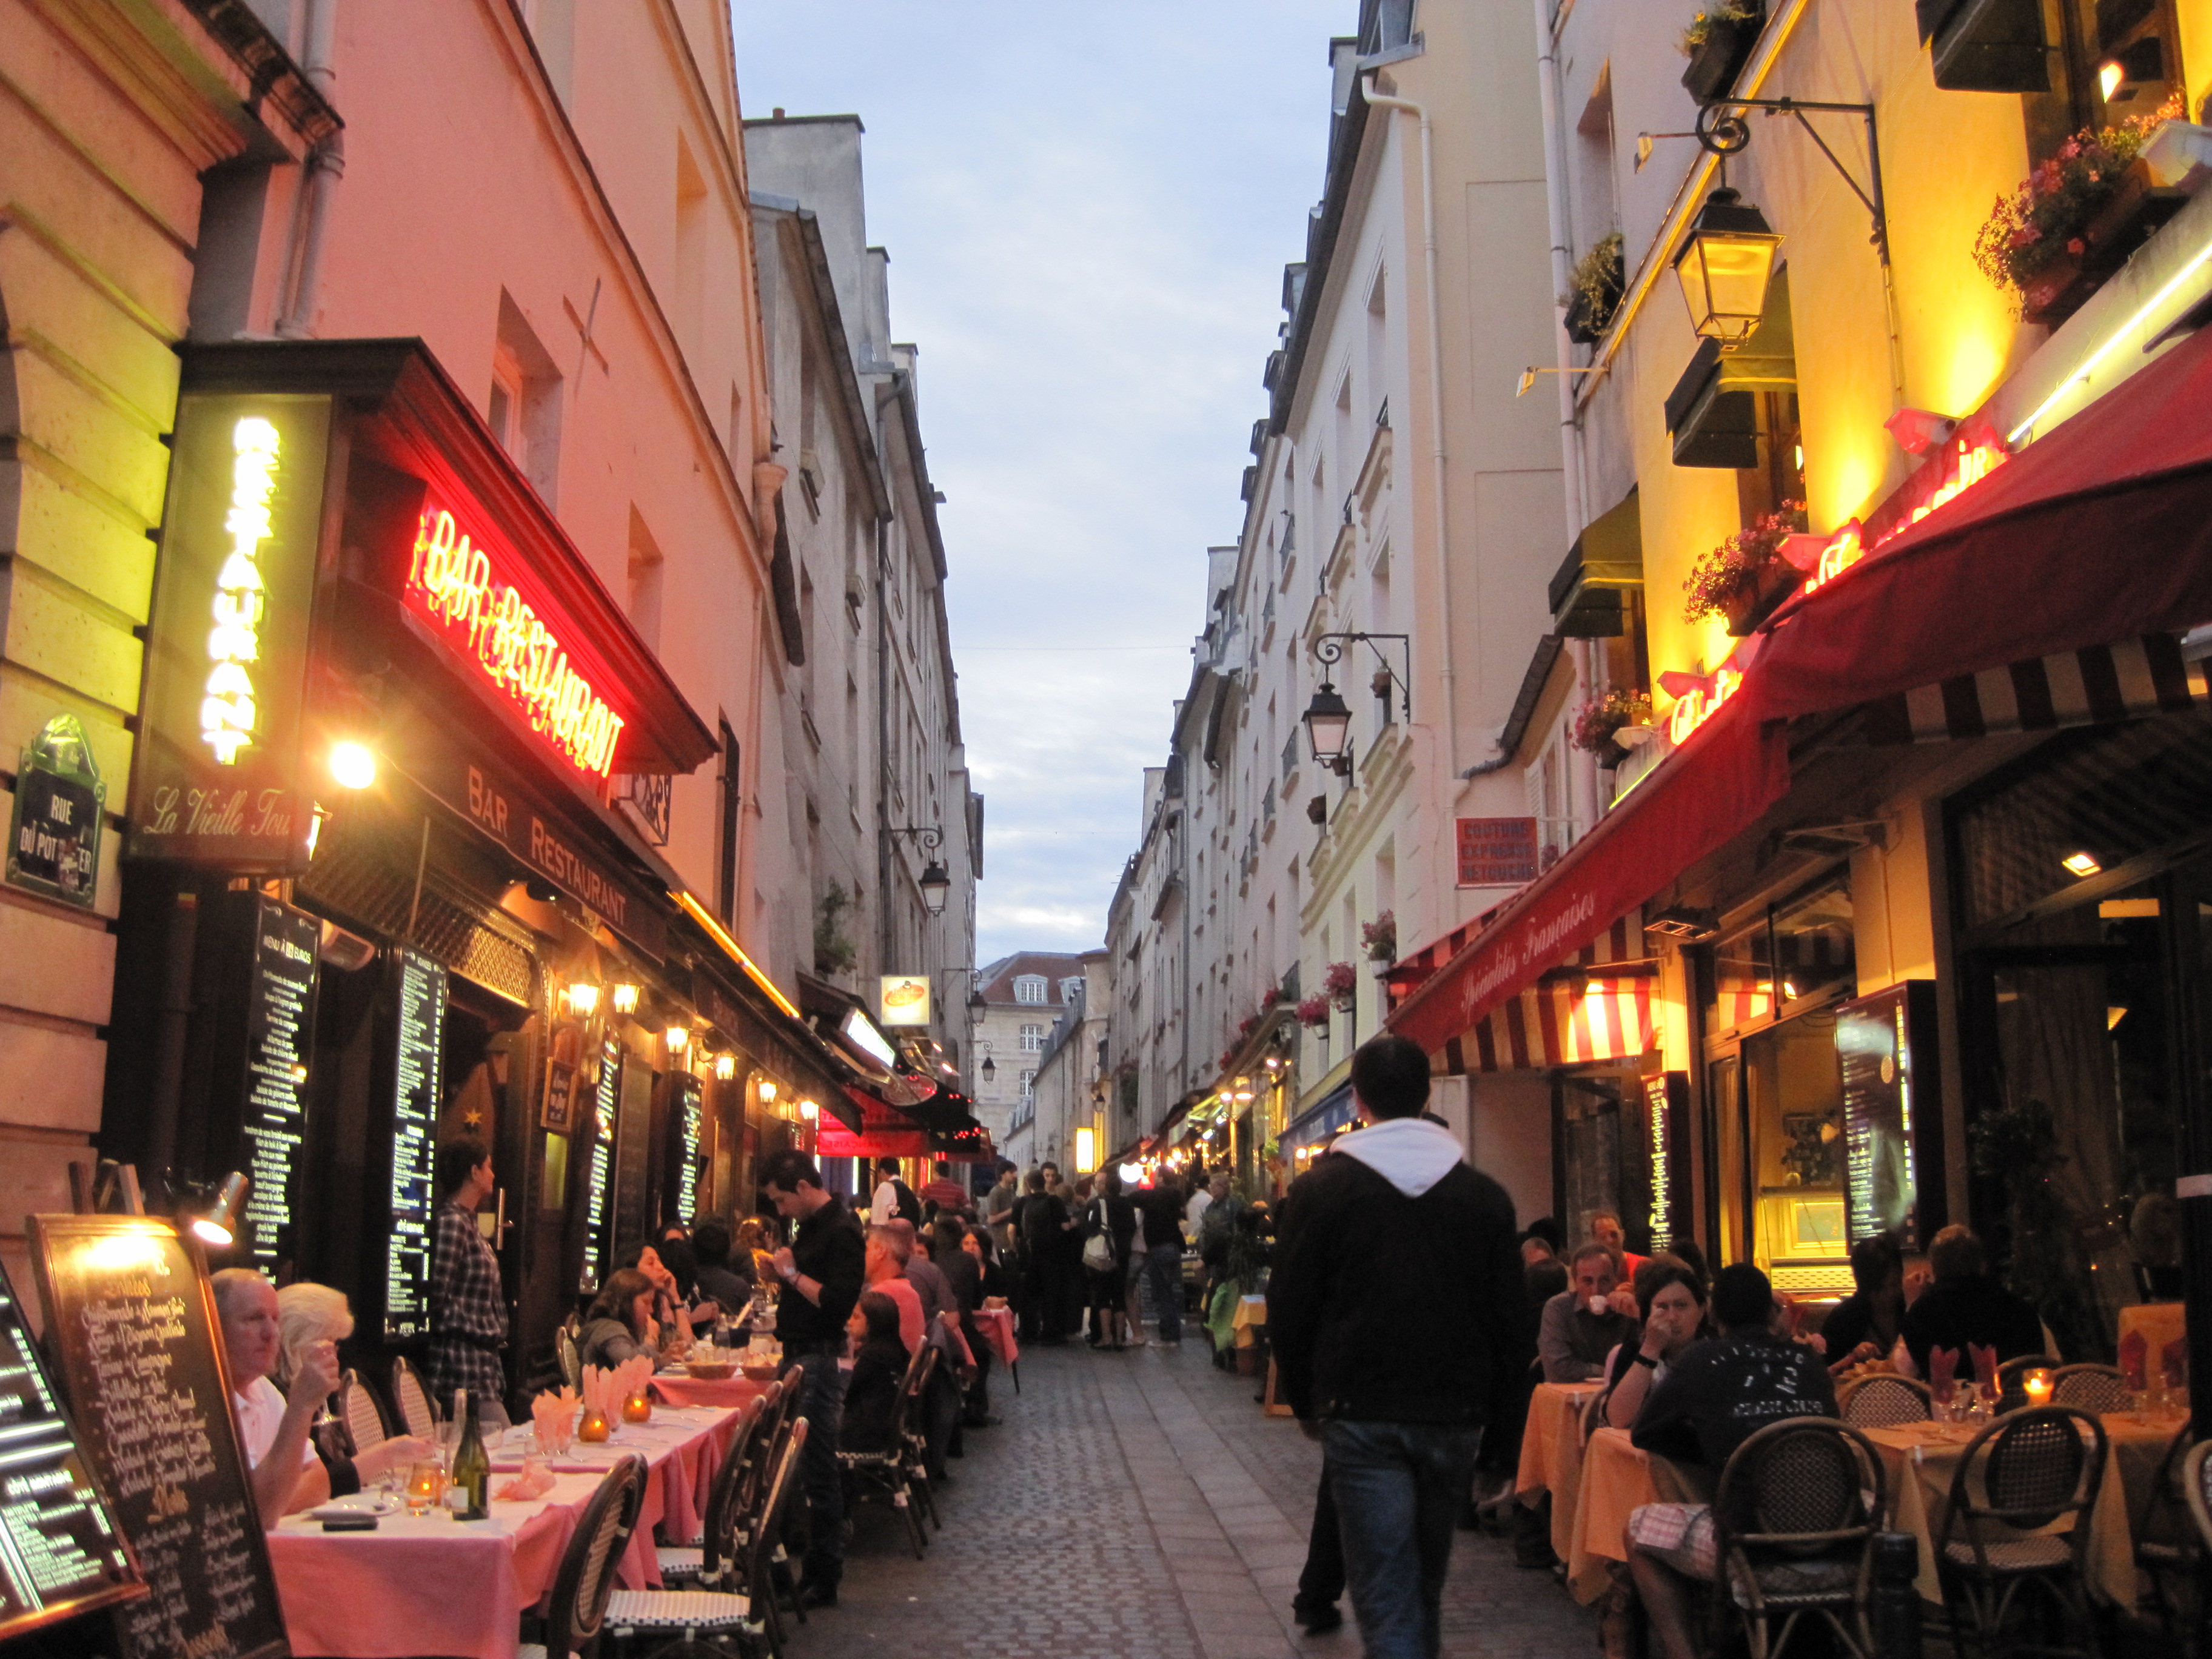
Paris is a city that likes to enjoy a glass of wine at every meal, a city that relishes its two-hour lunch breaks, and a city that encourages seeing and walking to appreciate her complete beauty. She is a city that is somehow so green that when I look around at all the lush, vibrant shrubs and trees that have been trimmed and hedged to perfection, I sometimes think that someone just took a can of forest and pine green spray paint and had a field day running through her streets.

Our first night, we walked from the Champs-Elysees to the Tour Eiffel. Although I had seen it so many times in TV shows, movies, postcards, and photos, seeing the Tour Eiffel in person was like a revelation. I was so stunned by its massive size, curves, and light. I felt different emotions as I walked around it and along the Seine, but most of all, I felt an overwhelming sense of gratitude – gratitude for the fact that I was so privileged to be able to visit one of the most stunning cities in the world, gratitude for all of my life’s experiences, both painful and happy, and gratitude for the people who I have loved and who have loved me and contributed to who I am now. In a city I had never before visited, I began to feel nostalgic and introspective.

As these feelings of nostalgia and introspection fell upon me, I realized exactly how much I missed writing, and almost every day that I was in Europe, I blocked out an hour or two to write about my experiences and feelings while there. In some way, you could say that going to Europe helped me find a part of myself again. Traveling through such beauty gave me an overwhelming sense of gratefulness and happiness in a way that I’d never experienced before.

Paris is one of those places that people visit and have extremely high expectations for. We hope it will live up to all of the hype that television shows and movies have built around it. We expect every building to be stunning and colossal, every work of art to be breathtaking, and every croissant to be buttery, flaky, and melt in your mouth.

Well, not every building was stunning, not every sculpture and painting I saw was breathtaking, and (extremely unfortunately) not every croissant I had was flaky, but I will say that Paris lived up to all of my expectations, particularly when it comes to all things epicurean.
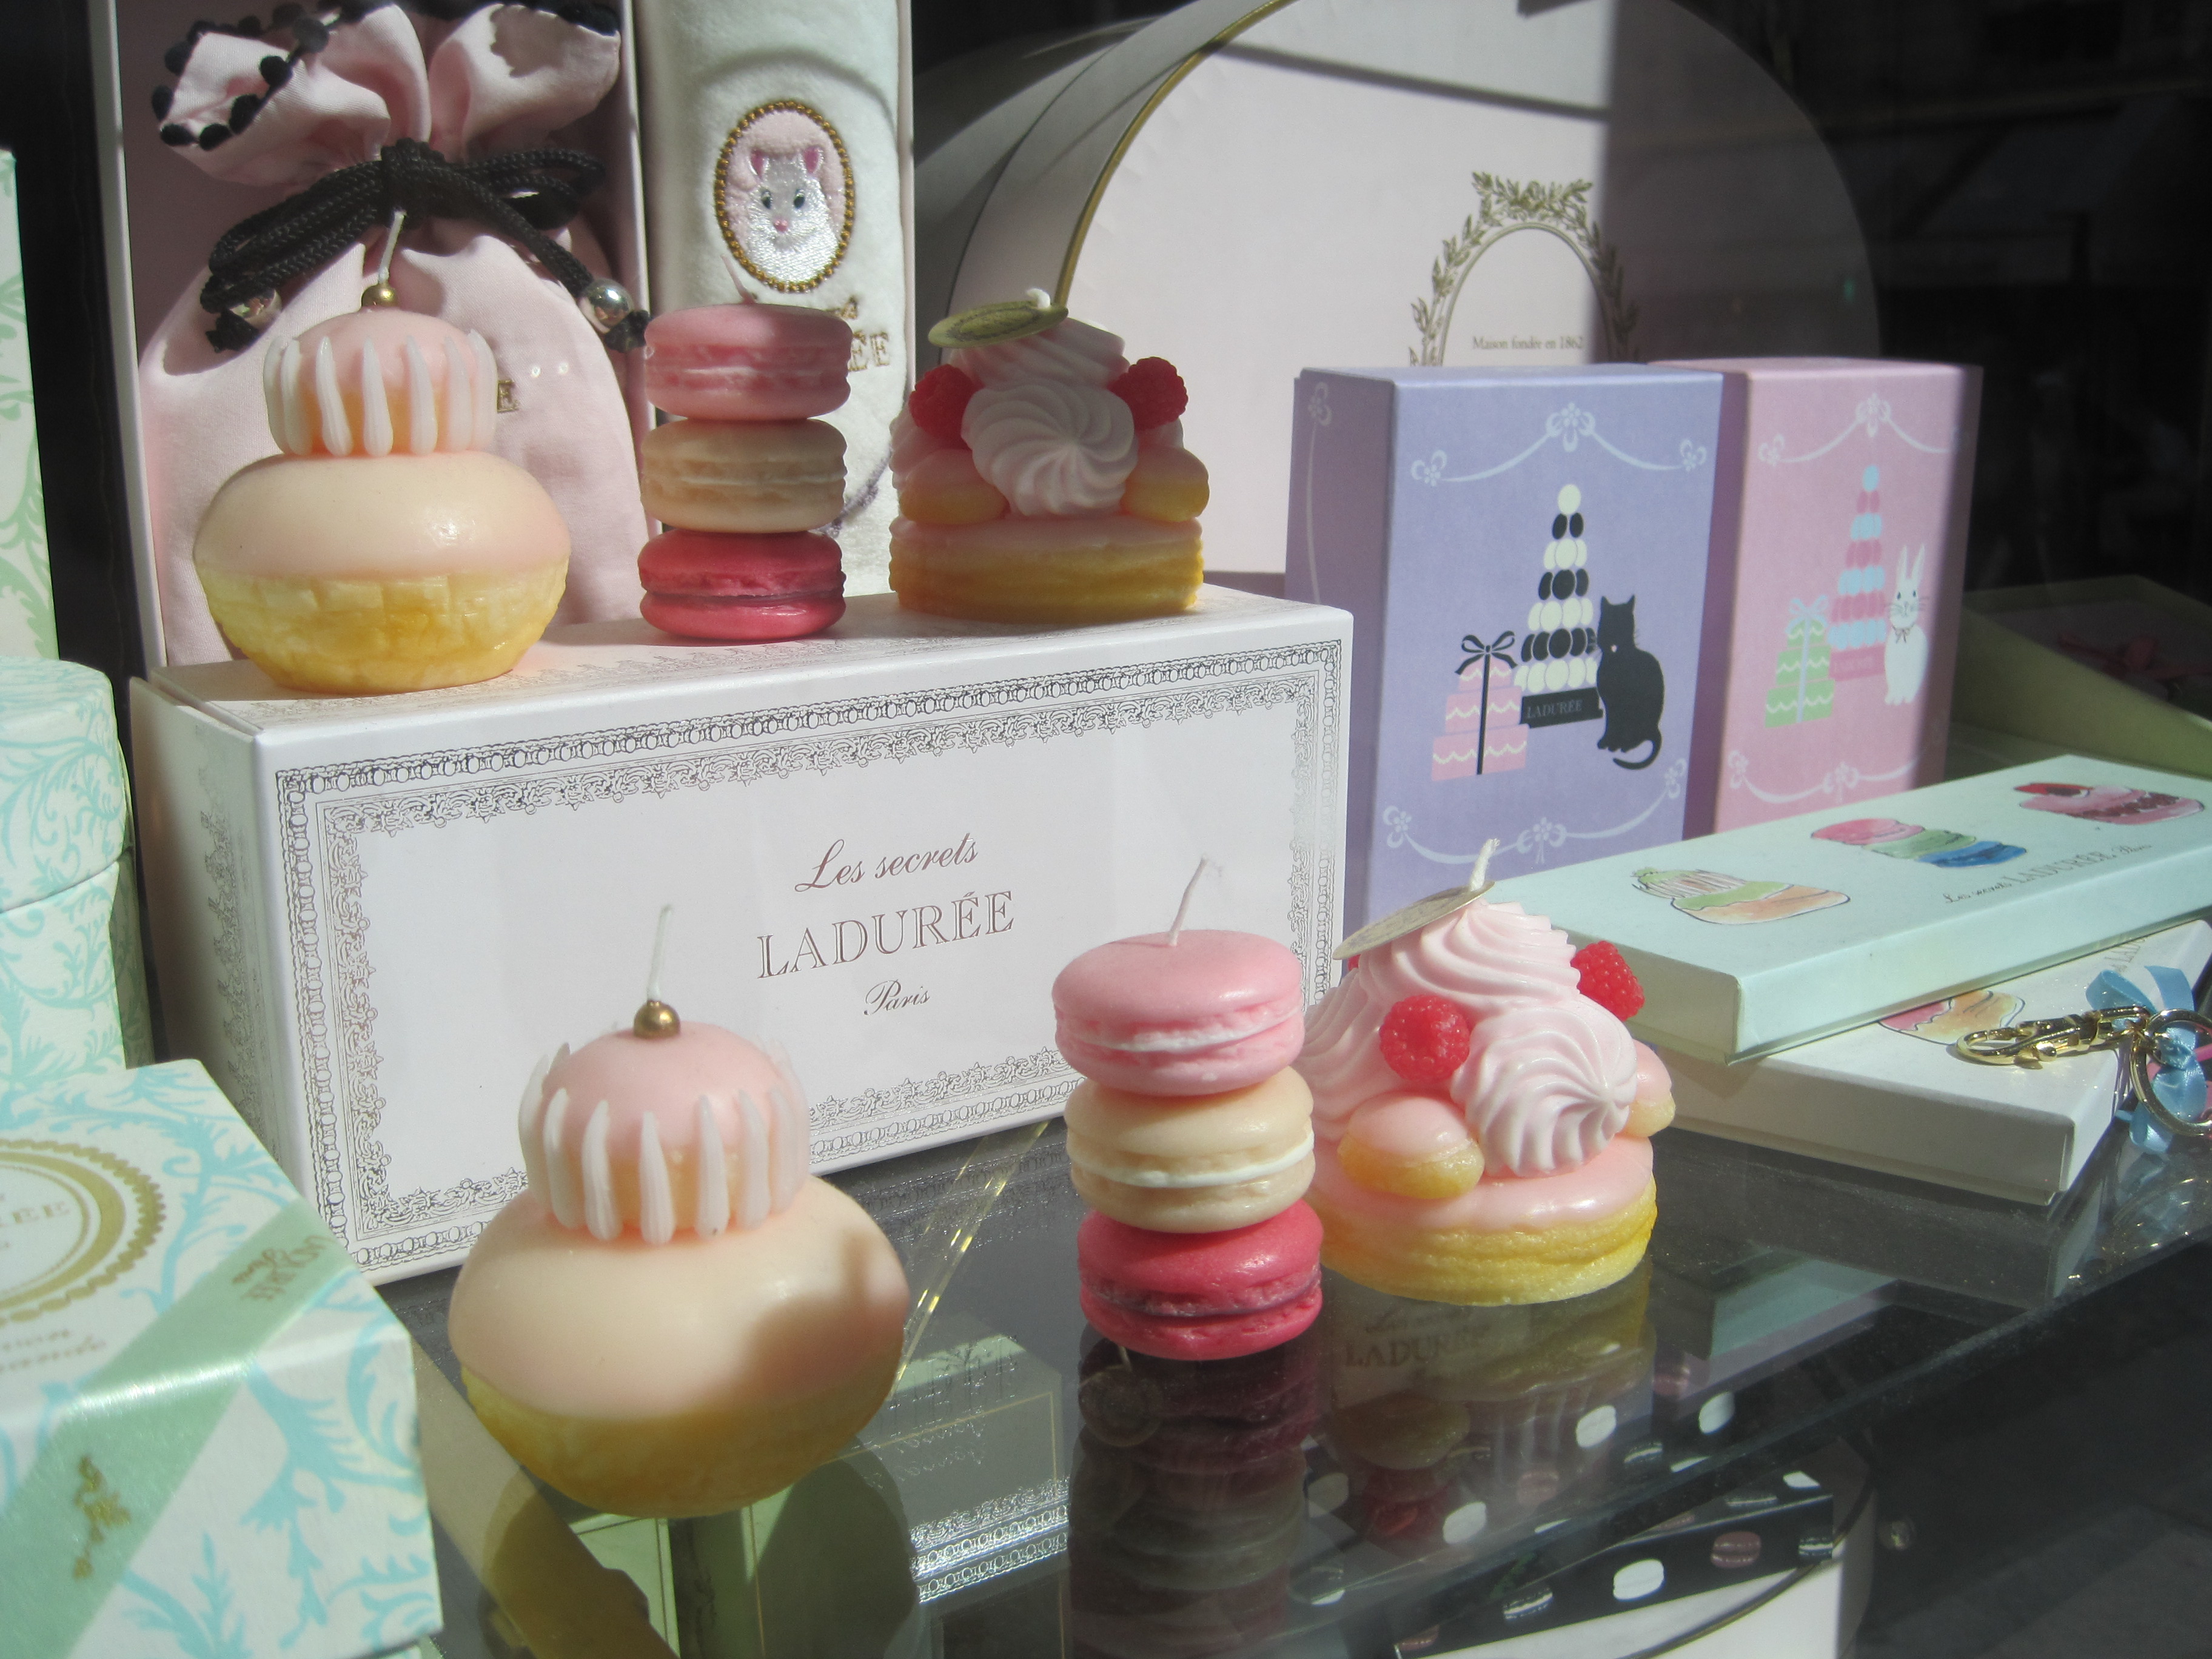
One of the first things I always think about when I remember Paris is Ladurée, the most luxurious and refined pastry and cookie shop in Paris. Ladurée has several locations in Paris and around the world in major metropolitan cities, and just recently (to my absolute giddy delight) opened a shop right here in New York on the Upper East Side. Everything about Ladurée is chic and exquisite, from the jewel-like decor of each shop to the elegant, posh gift boxes (which you have to pay extra for, but if you are a die-hard fan, you should probably just cave in and get one…or two). Ladurée is famous for all of their chocolates, cakes, and sweets, but they are most renowned for their macarons – a cookie made of two little almond meringues sandwiched with a filing between them. Please don’t confuse these with those American coconut cookies. What makes these little sandwich cookies so amazing? Take a look:
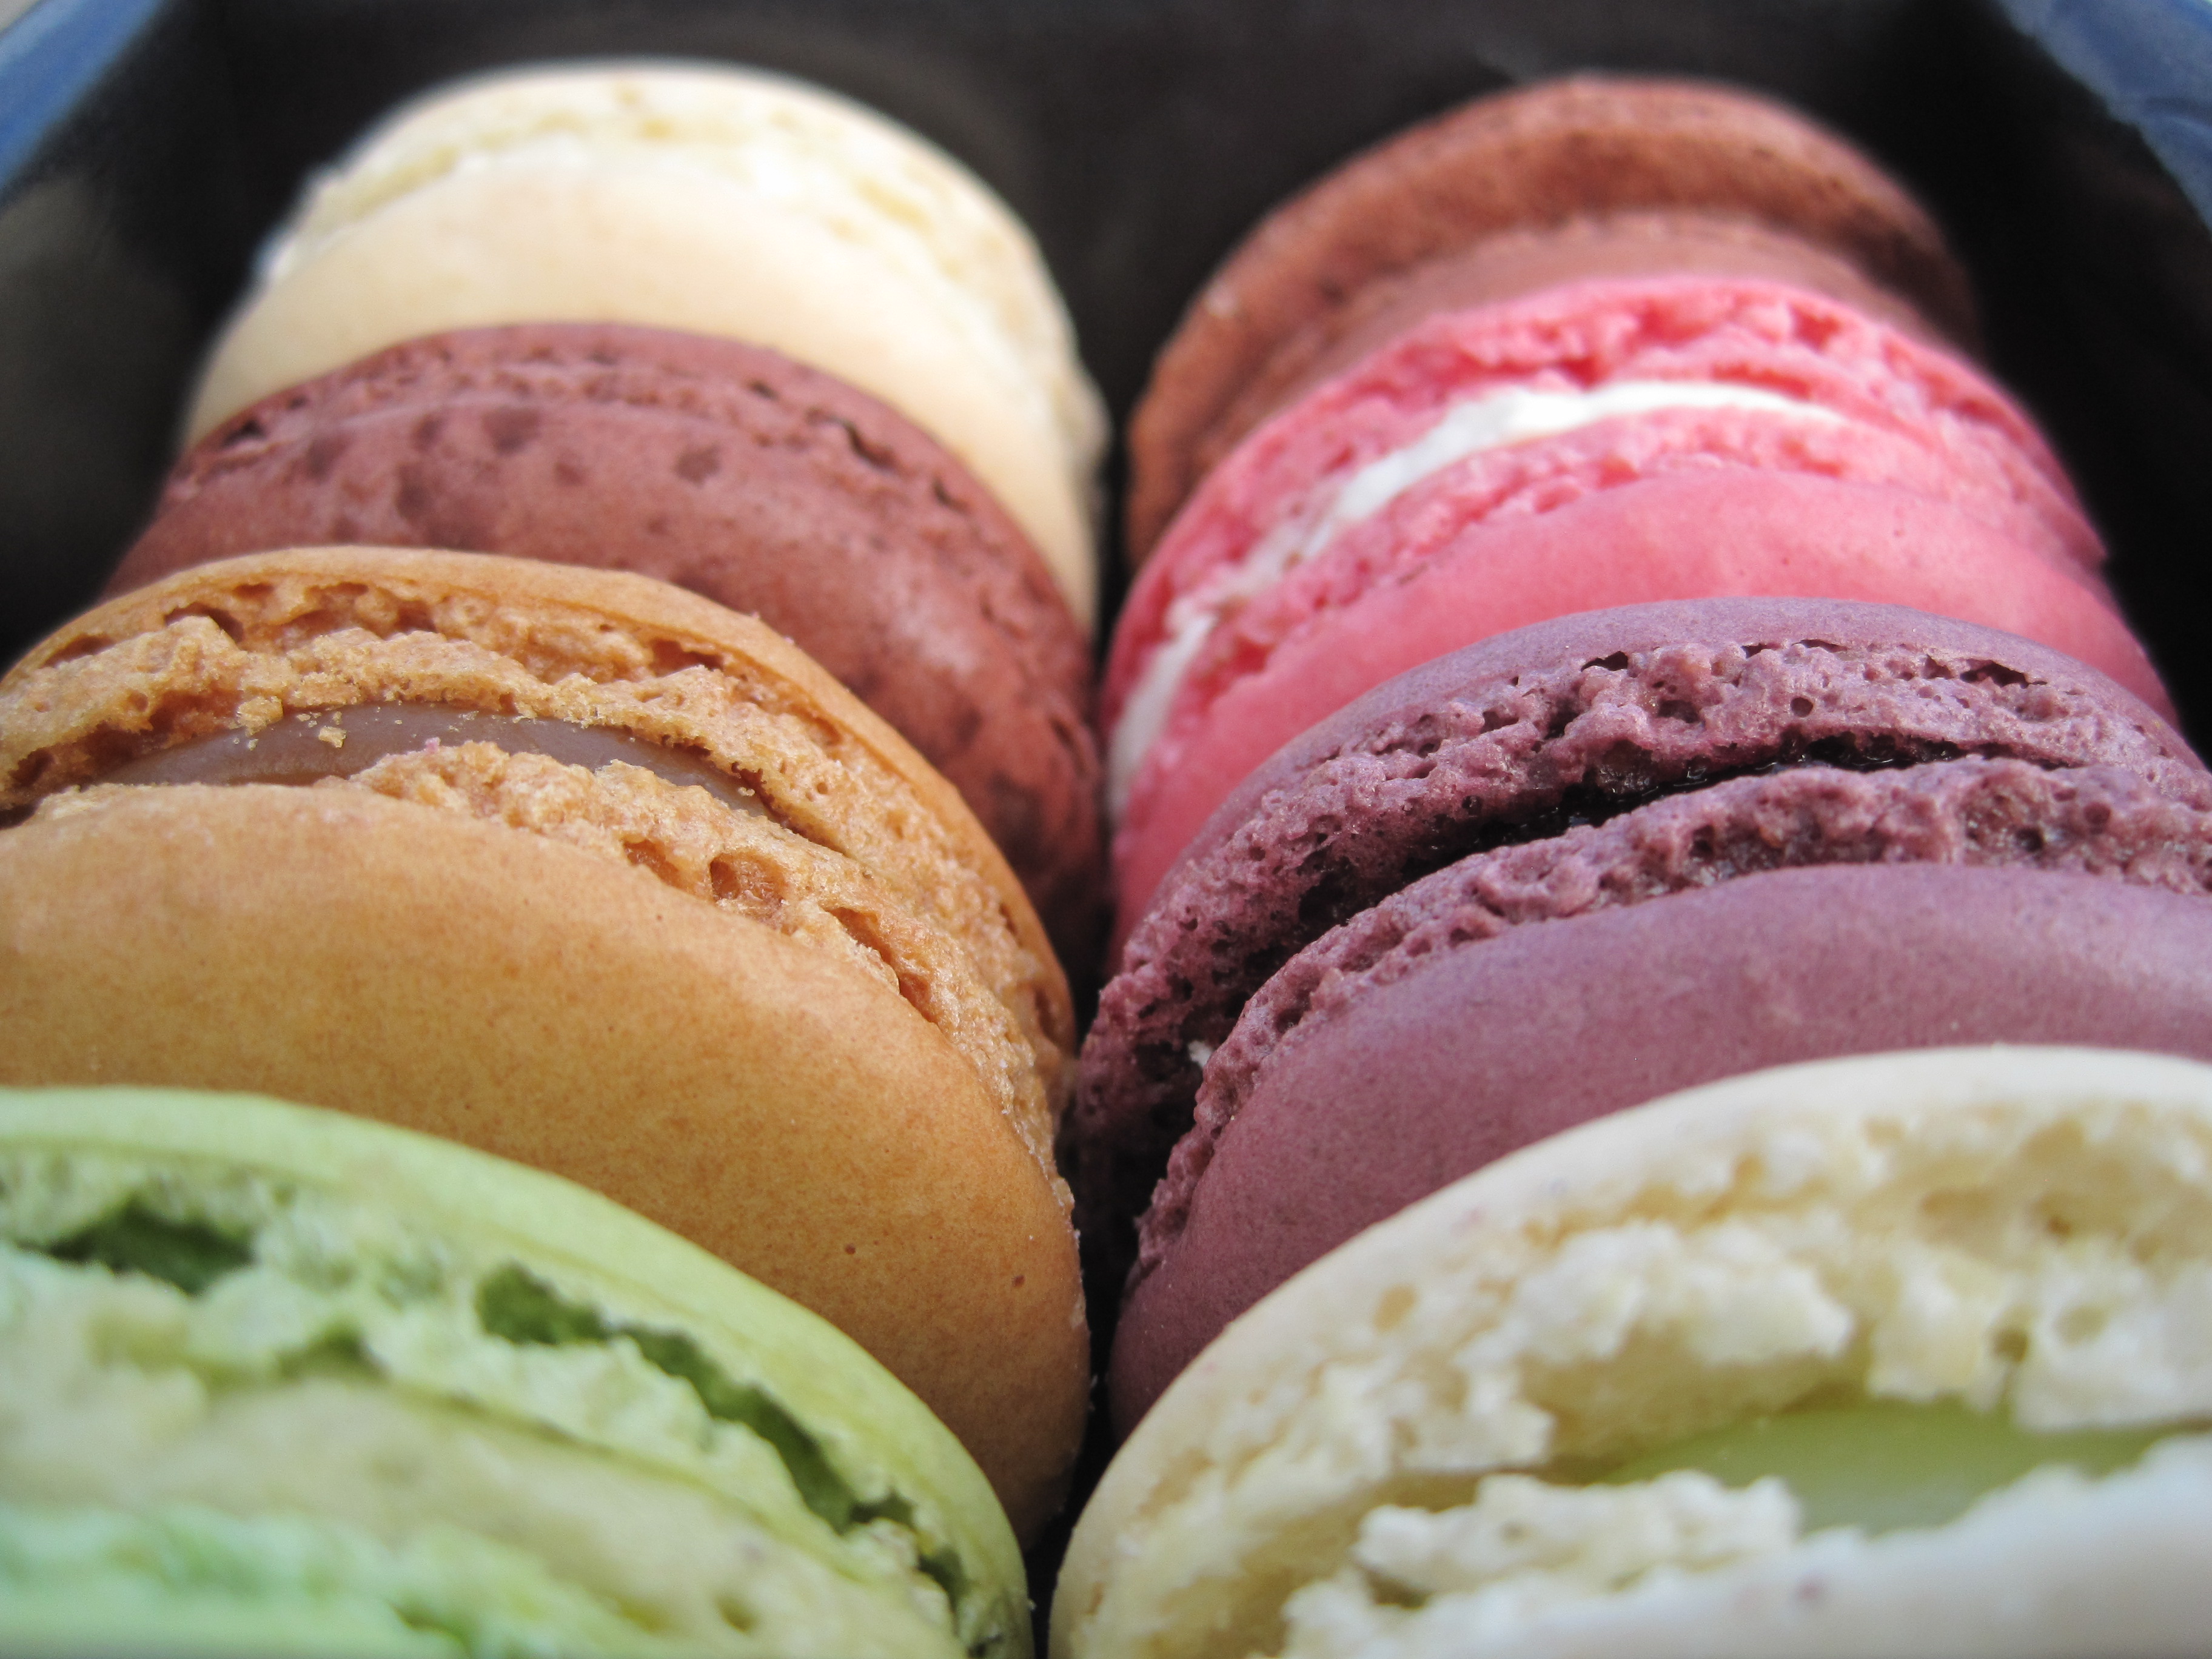
The perfect macaron, when you bite into it, should have a small crunch, and then as your teeth dig deeper into it, should be lighter than air. The ideal macaron is light and delicate; it is a meringue, after all, that was piped from a pastry bag, left to sit for a few hours to develop the “shell” on its top to create that tiny crunch in the initial bite. The fillings vary depending on which flavor you get. I can’t decide if I prefer the richer fillings like pistachio or hazelnut cream or the lighter ones like raspberry or orange.

In addition to getting macarons from Ladurée, we also tried them at Eric Kayser and Pierre Herme. The most unique macaron flavor we had was from Pierre Herme – olive oil and vanilla bean. The strong perfume of vanilla was unmistakable, but with the hints of fruity olive oil, the flavor was pretty sensational. You can even see the specs of vanilla bean in the cream filling here.
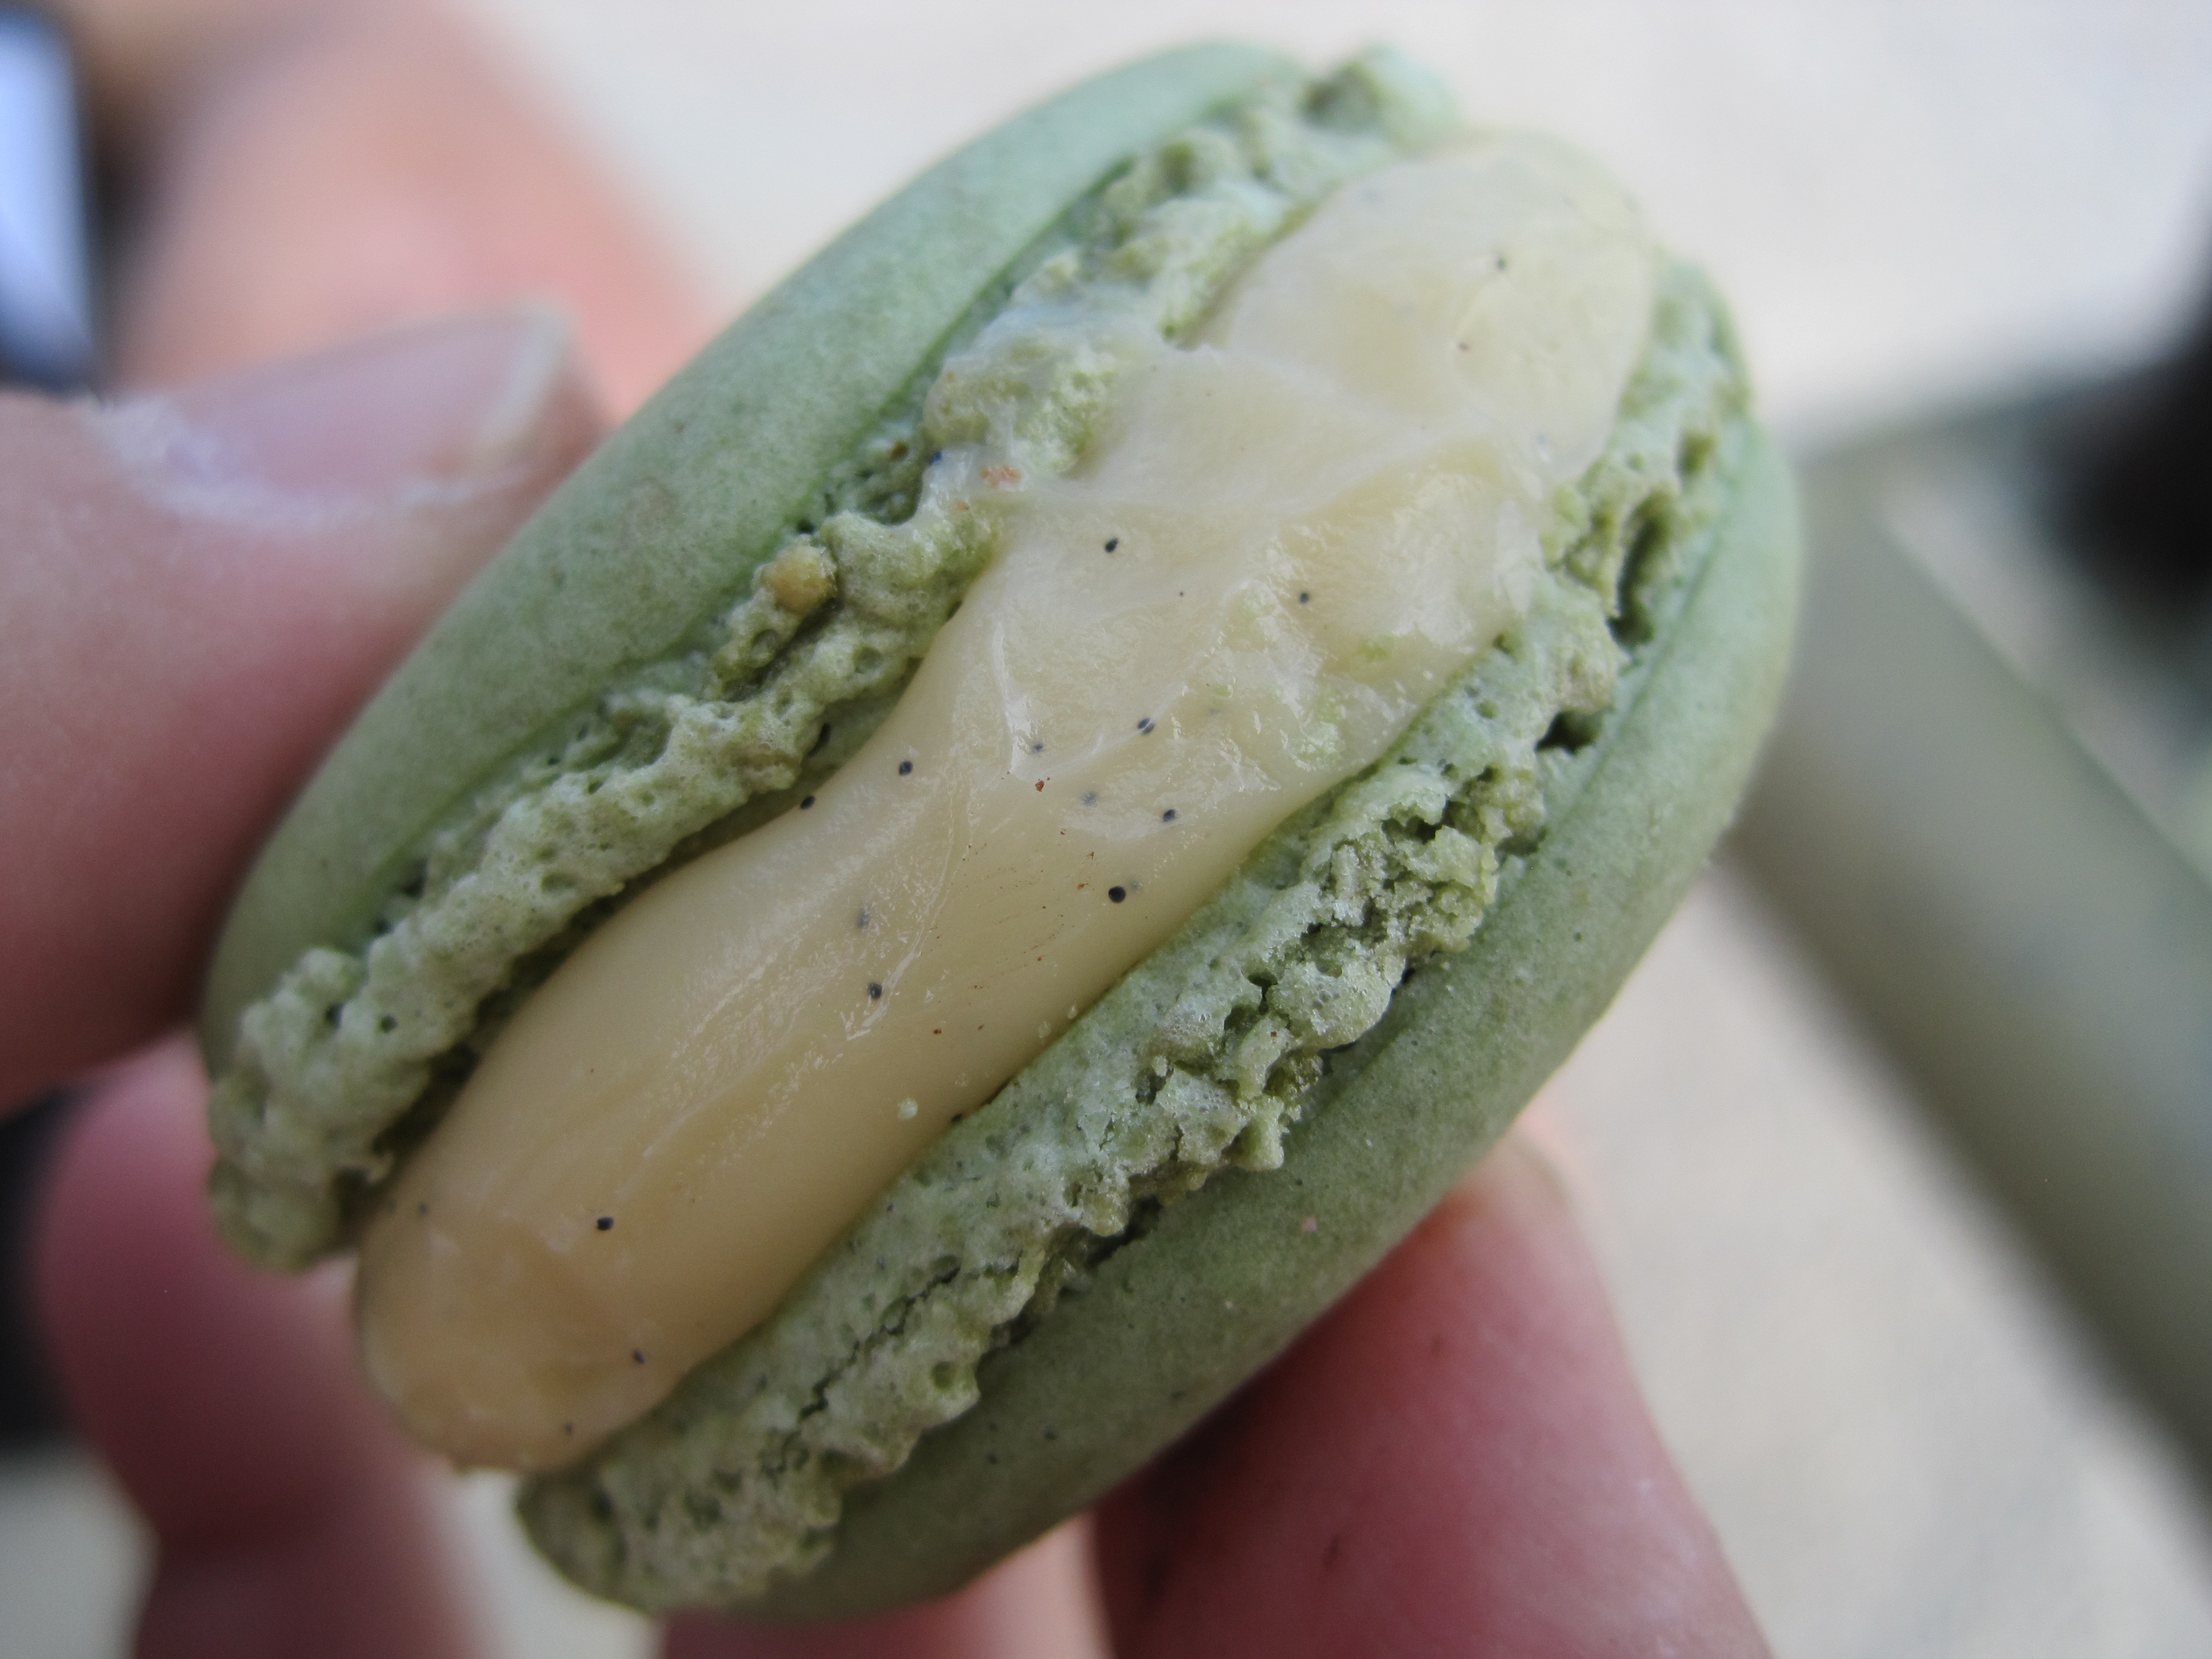
The Eric Kayser macarons were satisfactory, but honestly, they paled in comparison to the ones we had at Ladurée and Pierre Herme. However, their mini pistachio flavored financiers were incredibly cute and dainty with just the right amount of sweet almond nuttiness.

Oftentimes when friends have come back from France, they say that the cookies and croissants always taste better there than they do here in the States, even when they are thinking about their favorite pastry shops here. I used to think that this was just because they had such great memories of their travels and wanted to immortalize those epicurean experiences in their minds, but then I read an article a few years back that noted that laws in different countries surrounding butterfat (yes, butterfat laws; there really are regulations around this stuff) actually did make buttery baked goods different depending on where you are eating them. By law in the United States, American butter must contain at least 80 percent butterfat, while the minimum for French butter is 82 percent. Many companies in France that make butter even use 83-86 percent butterfat! A few percentage points might not sound like a big deal, but butterfat is the main determinant of butter’s flavor and texture, so every small bit counts.

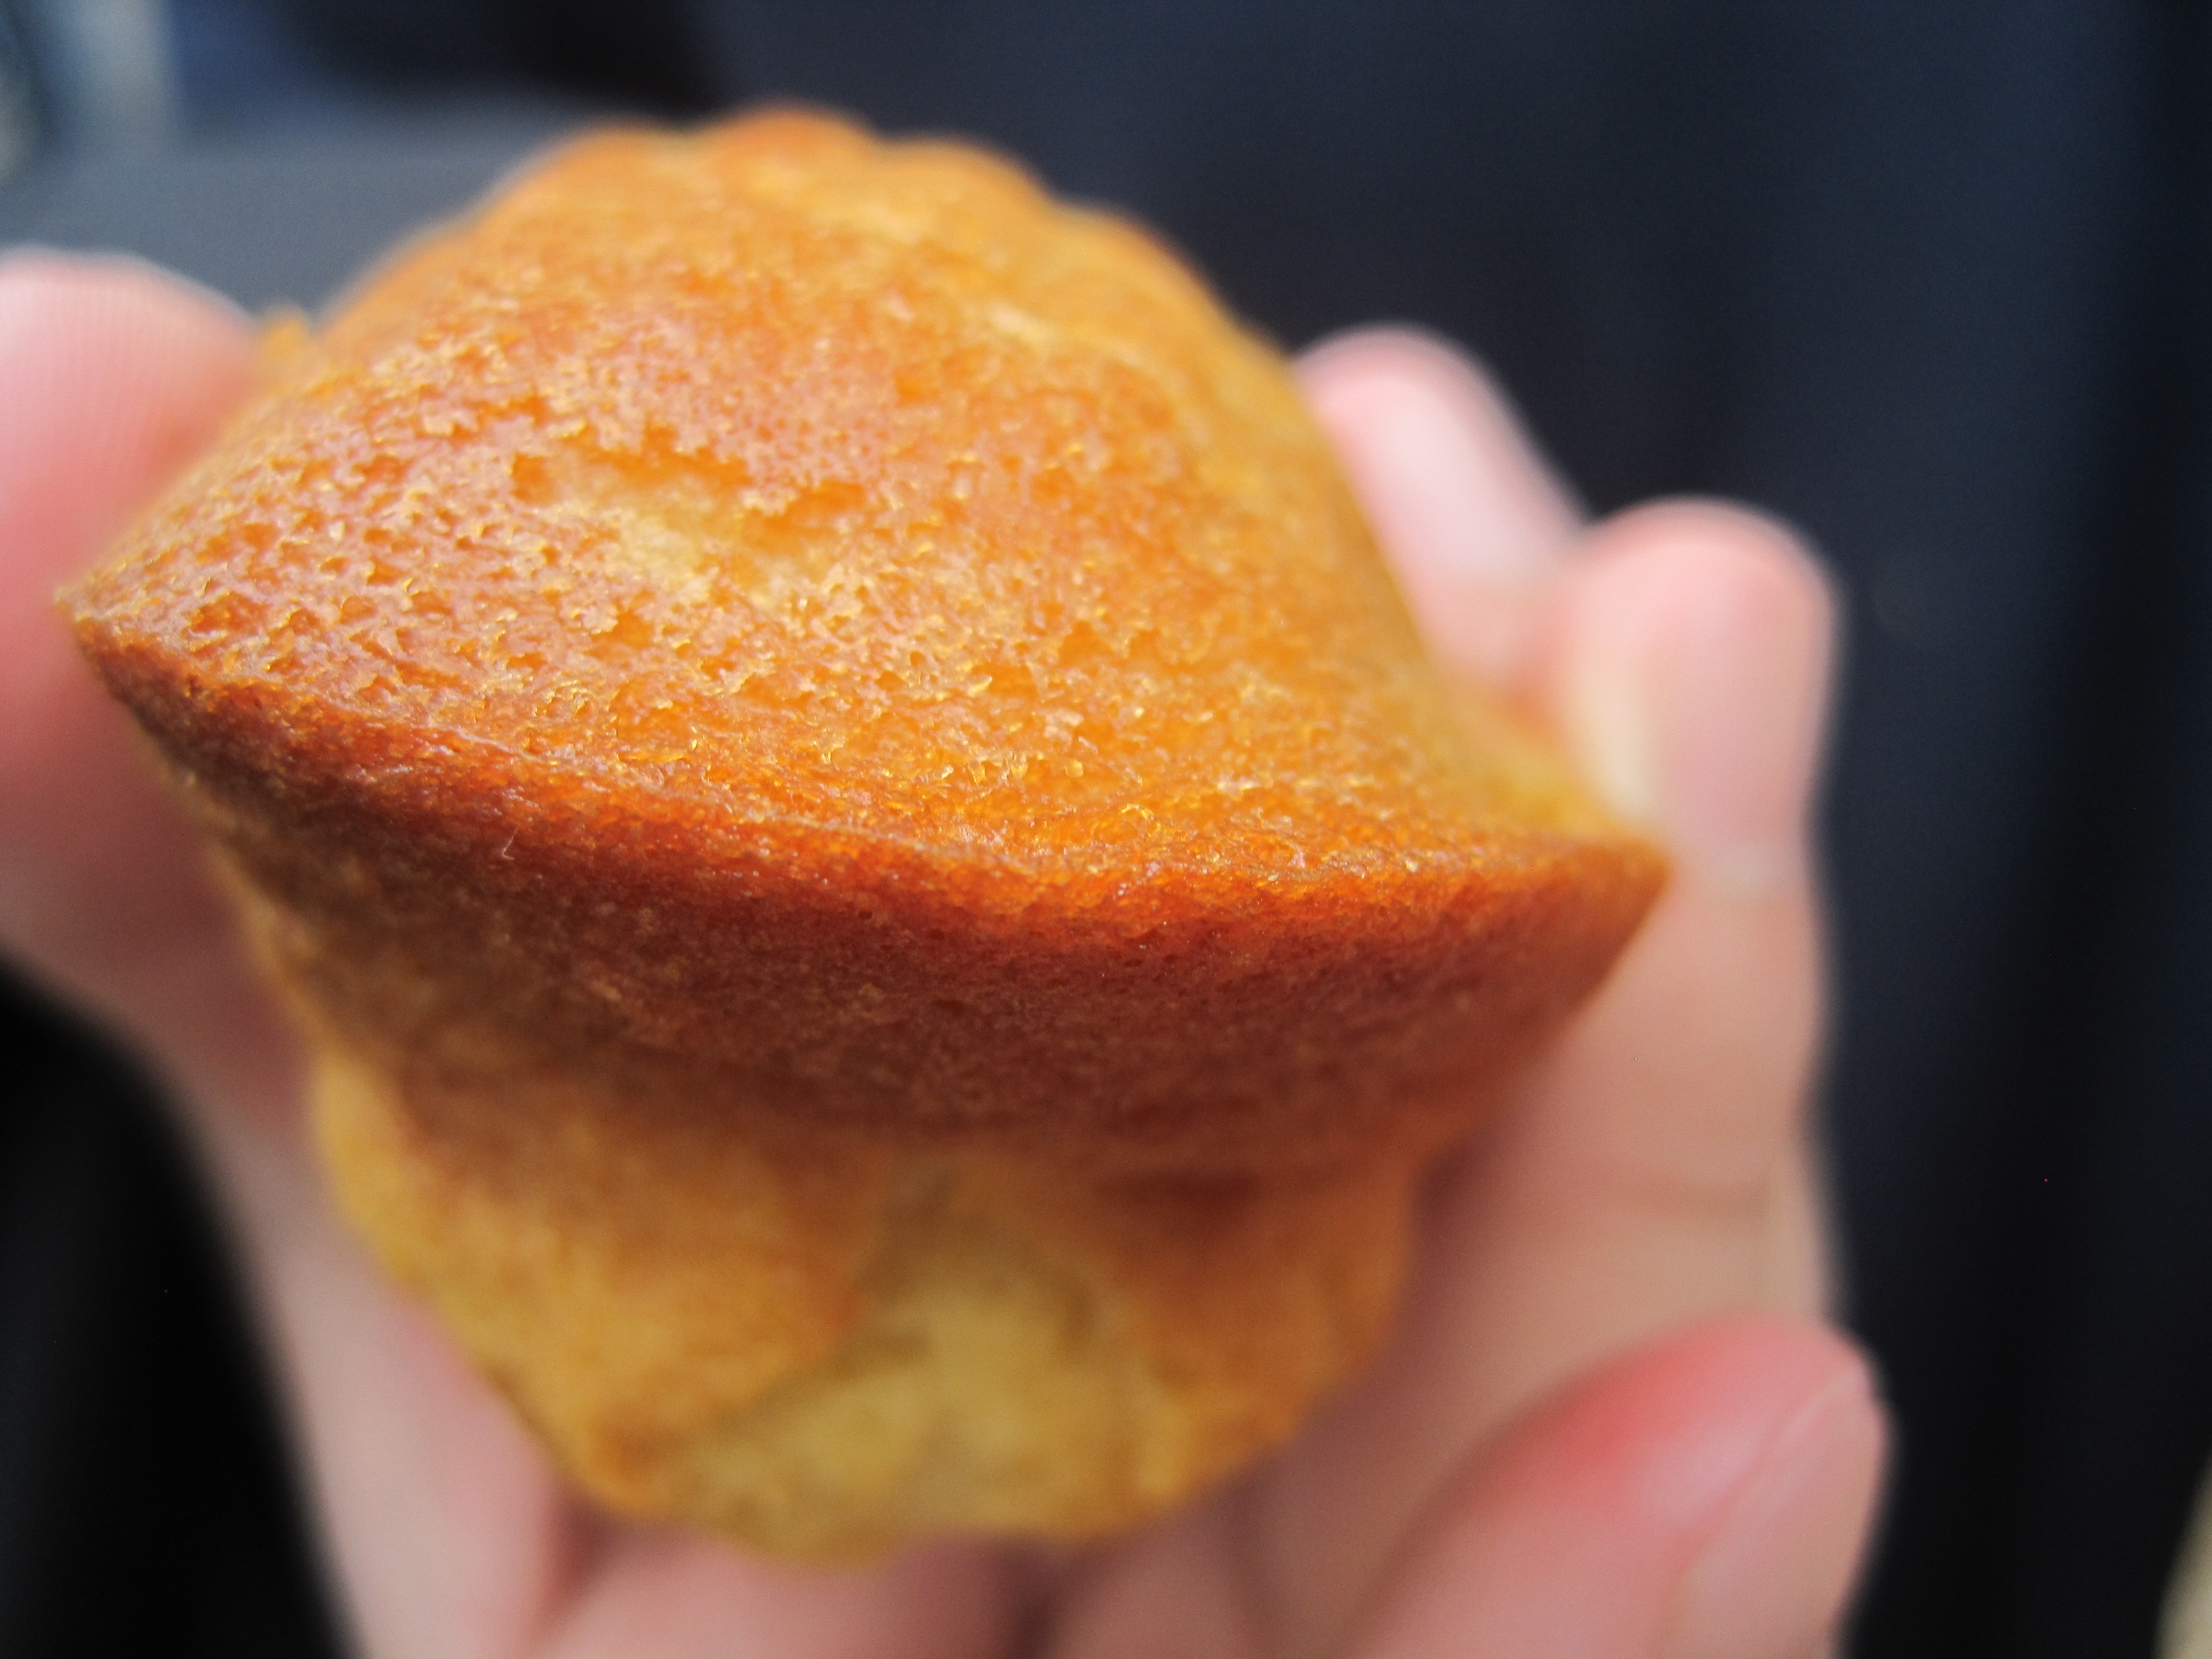
The best croissant, baguette, and madeleines I had were from a bakery within walking distance of the Sacre Coeur cathedral called Le Grenier à Pain. Apparently in 2010, they won first place for the best baguette in the 17th annual best baguette contest in Paris at la Chambre de Commerce des Boulangers. The croissant was one of the flakiest croissants I’ve ever eaten, with a texture so light that I probably could have stood there and eaten 10 of them without even realizing it. The crunchy exterior was almost addictive.
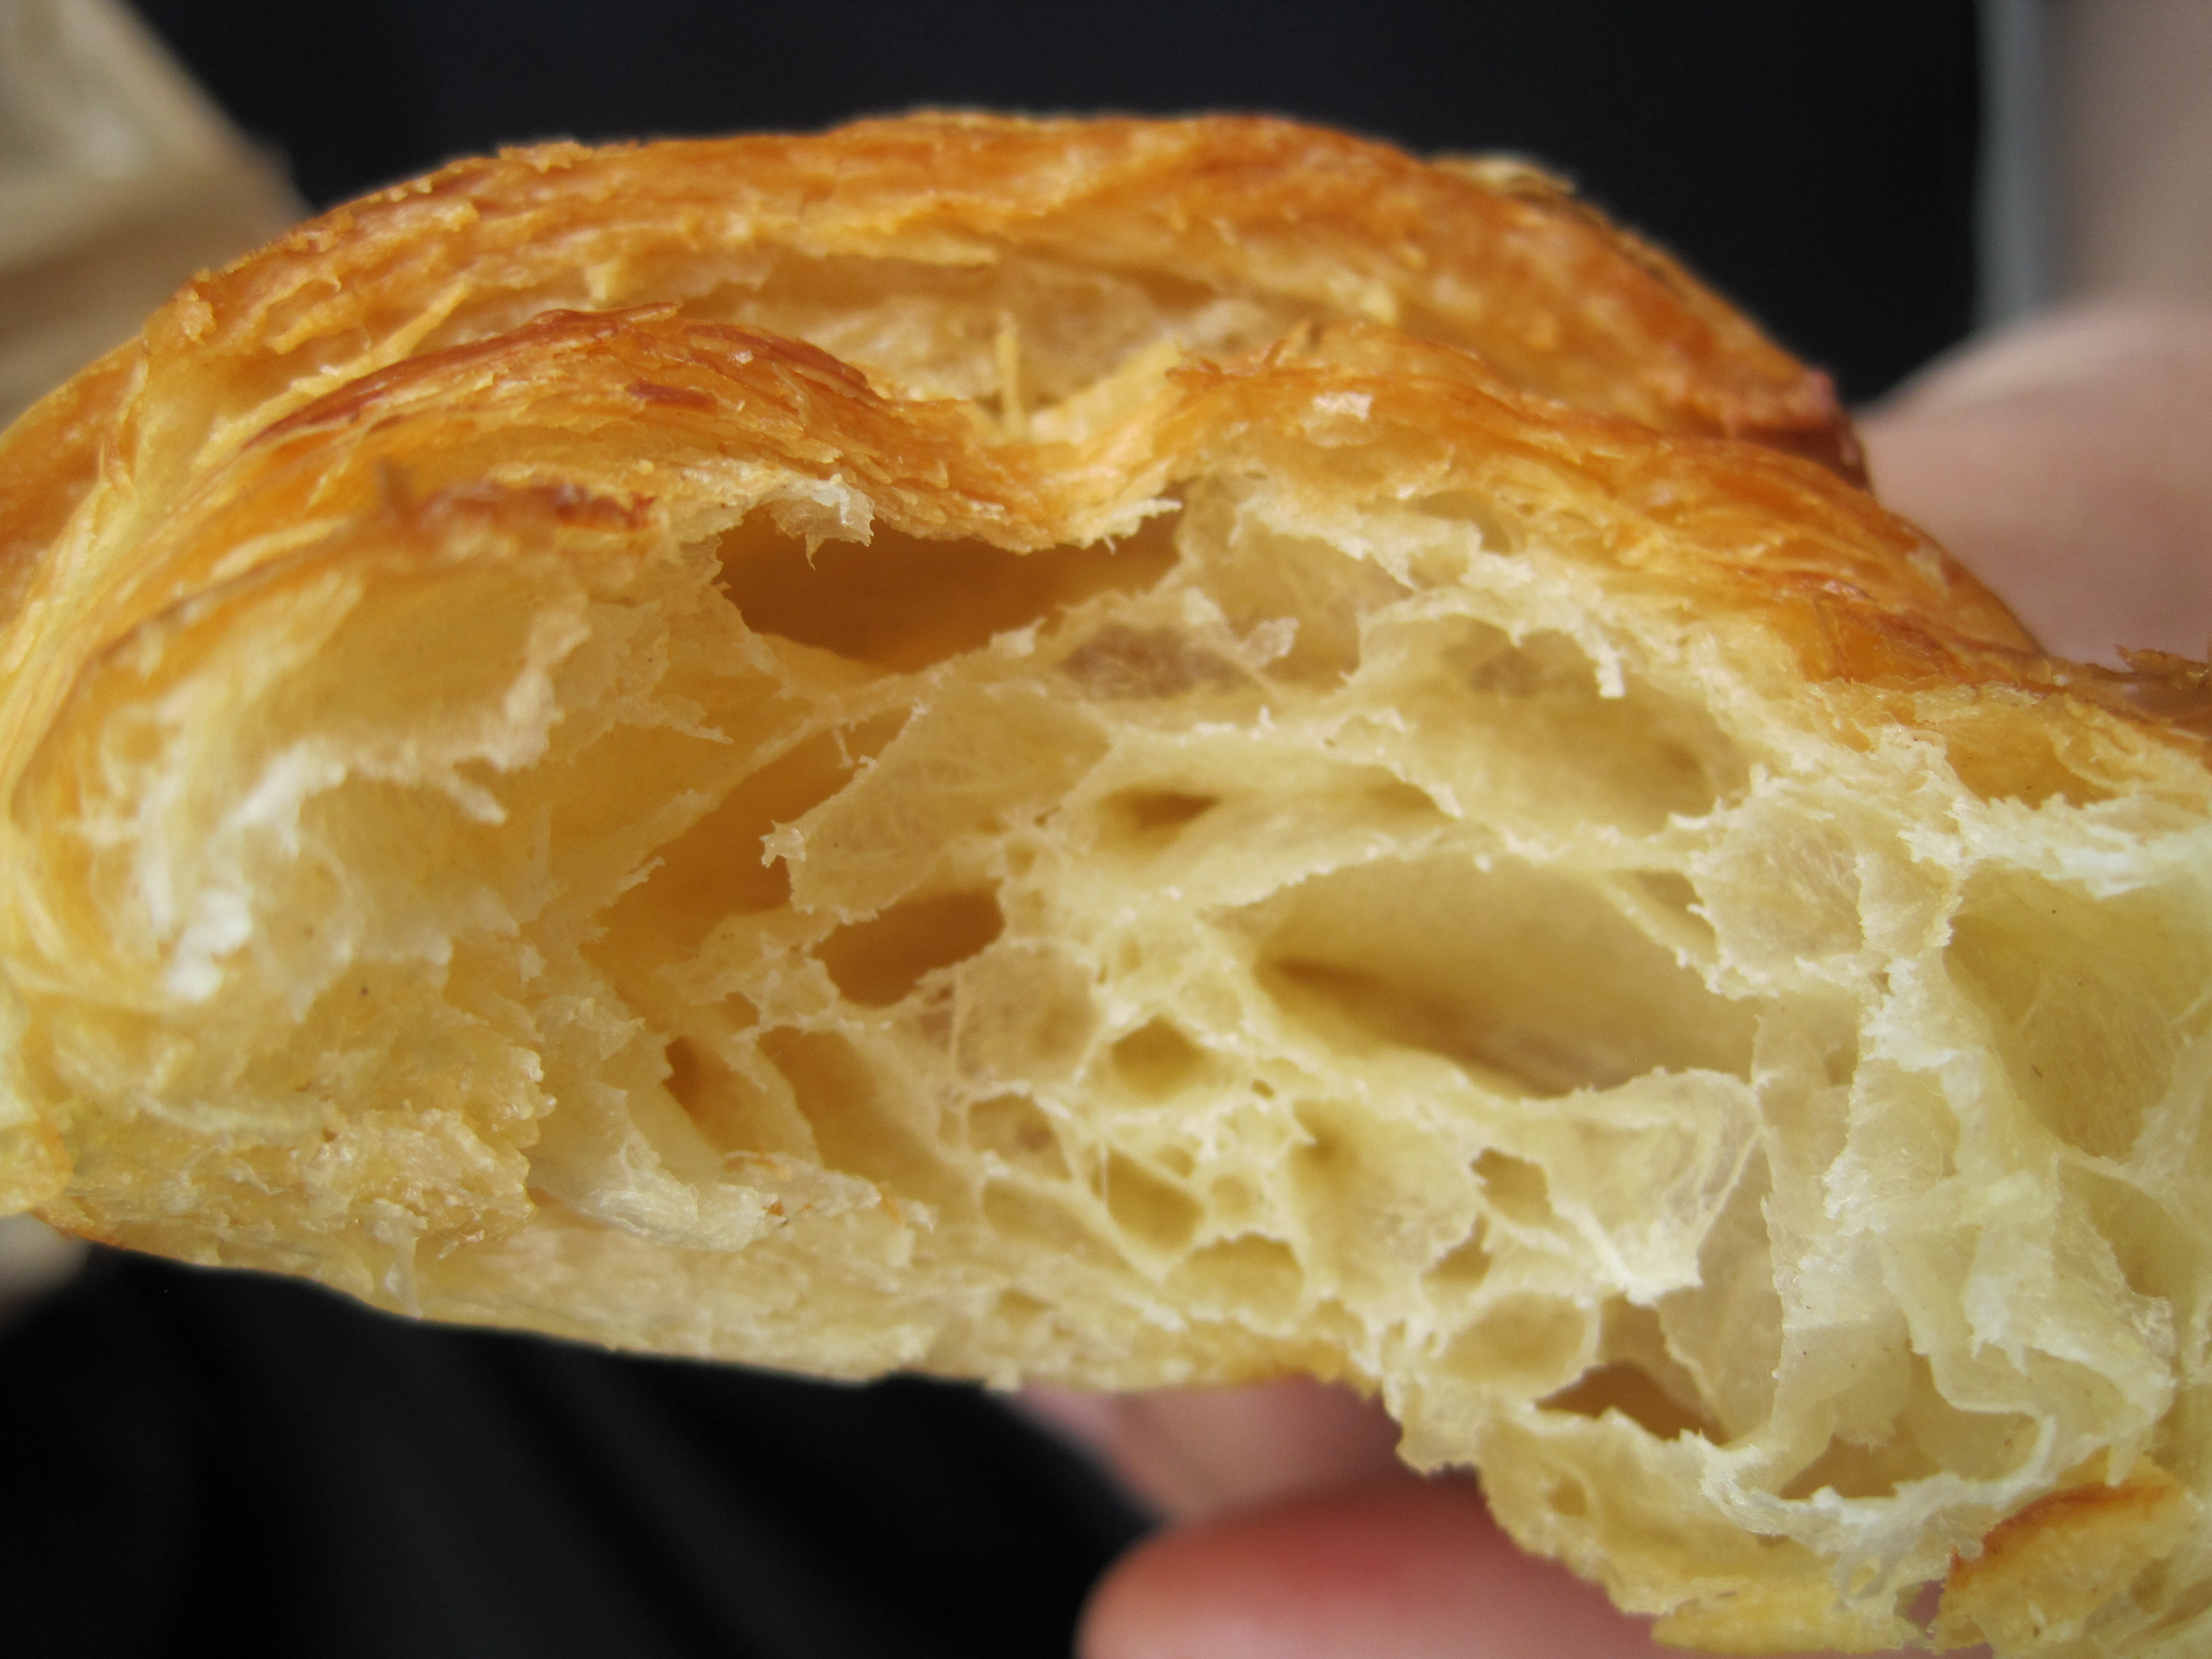
Many milk and butter companies in the States, such as Vermont Butter & Cheese Company, are trying to use methods to make butter to mimic the tastes and textures of European butter. They actually make butter with 86 percent butterfat. I still haven’t tried it yet, but I intend on doing it sometime soon. Maybe if I do try it out with the next baked good I make, I will succeed at producing a madeleine that was as tasty as this one at Le Grenier à Pain:
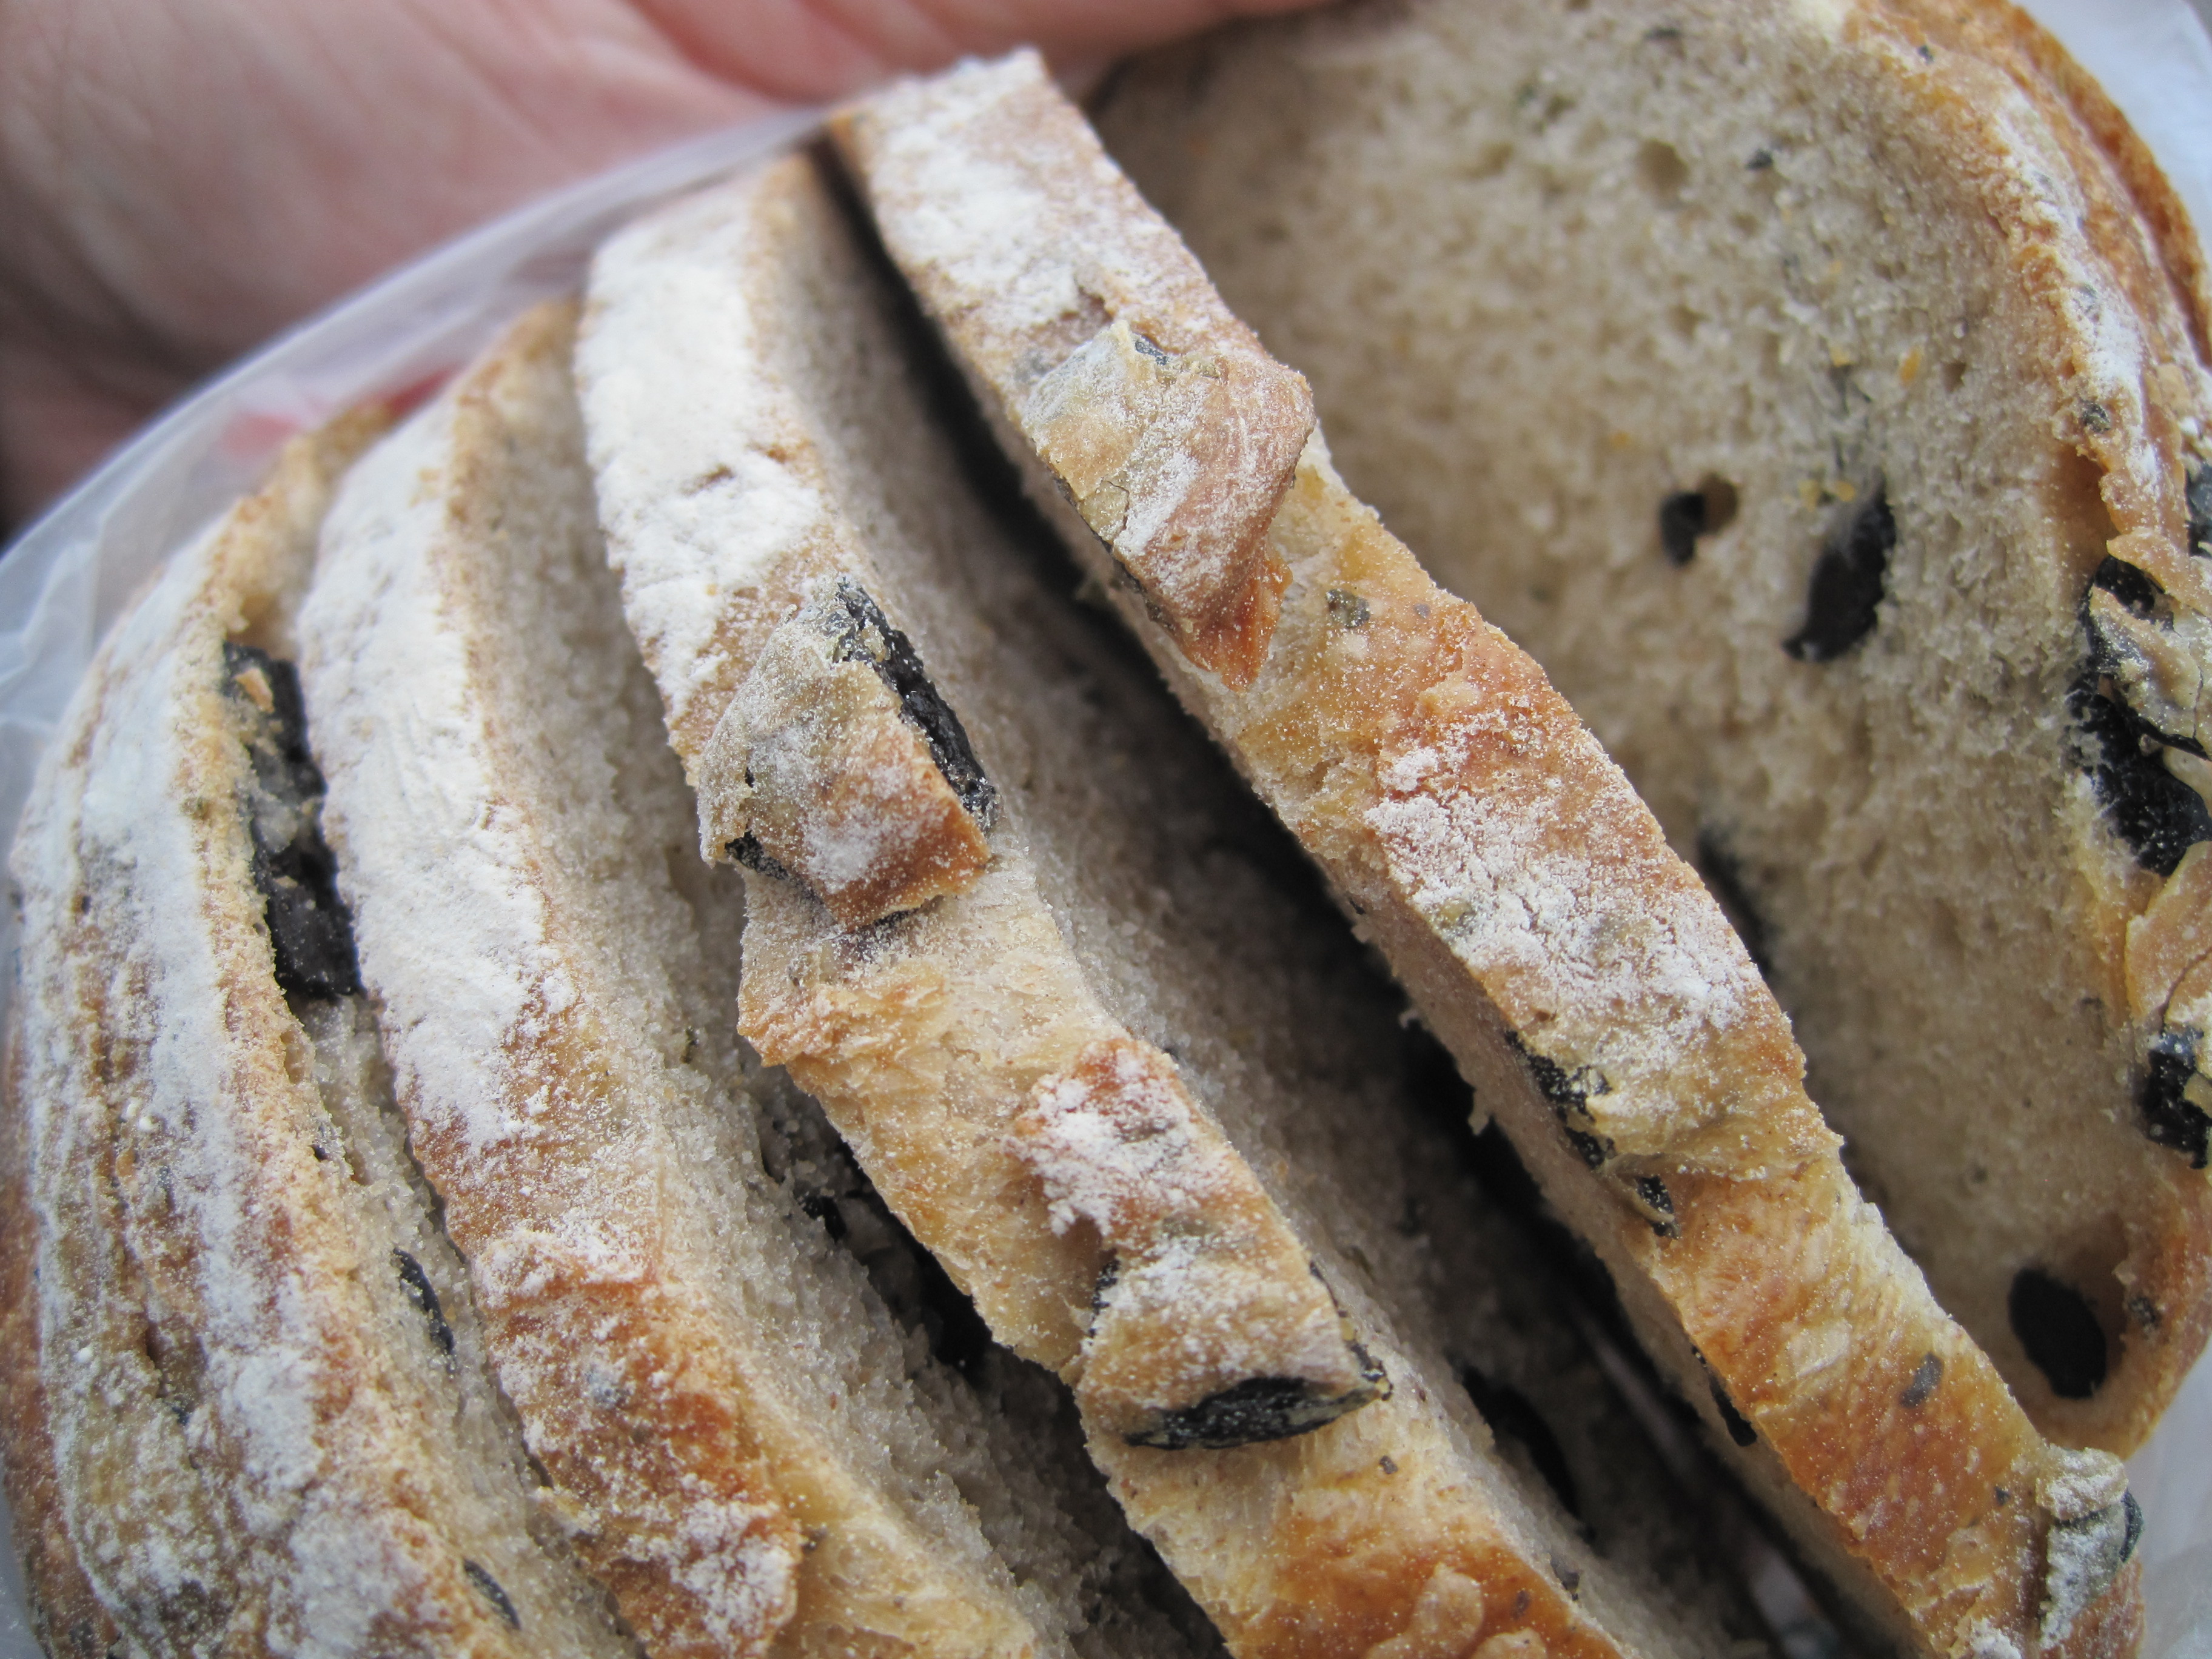
France is a carb lover’s dream – everywhere you go, you are surrounded by the most amazing and decadent cookies, cakes, pastries, and breads. Most of the notable bread places we found were along the way to the Sacre Coeur. For our picnic that day, we bought a gorgeous loaf of olive bread from Boulangerie à L’Ancienne.
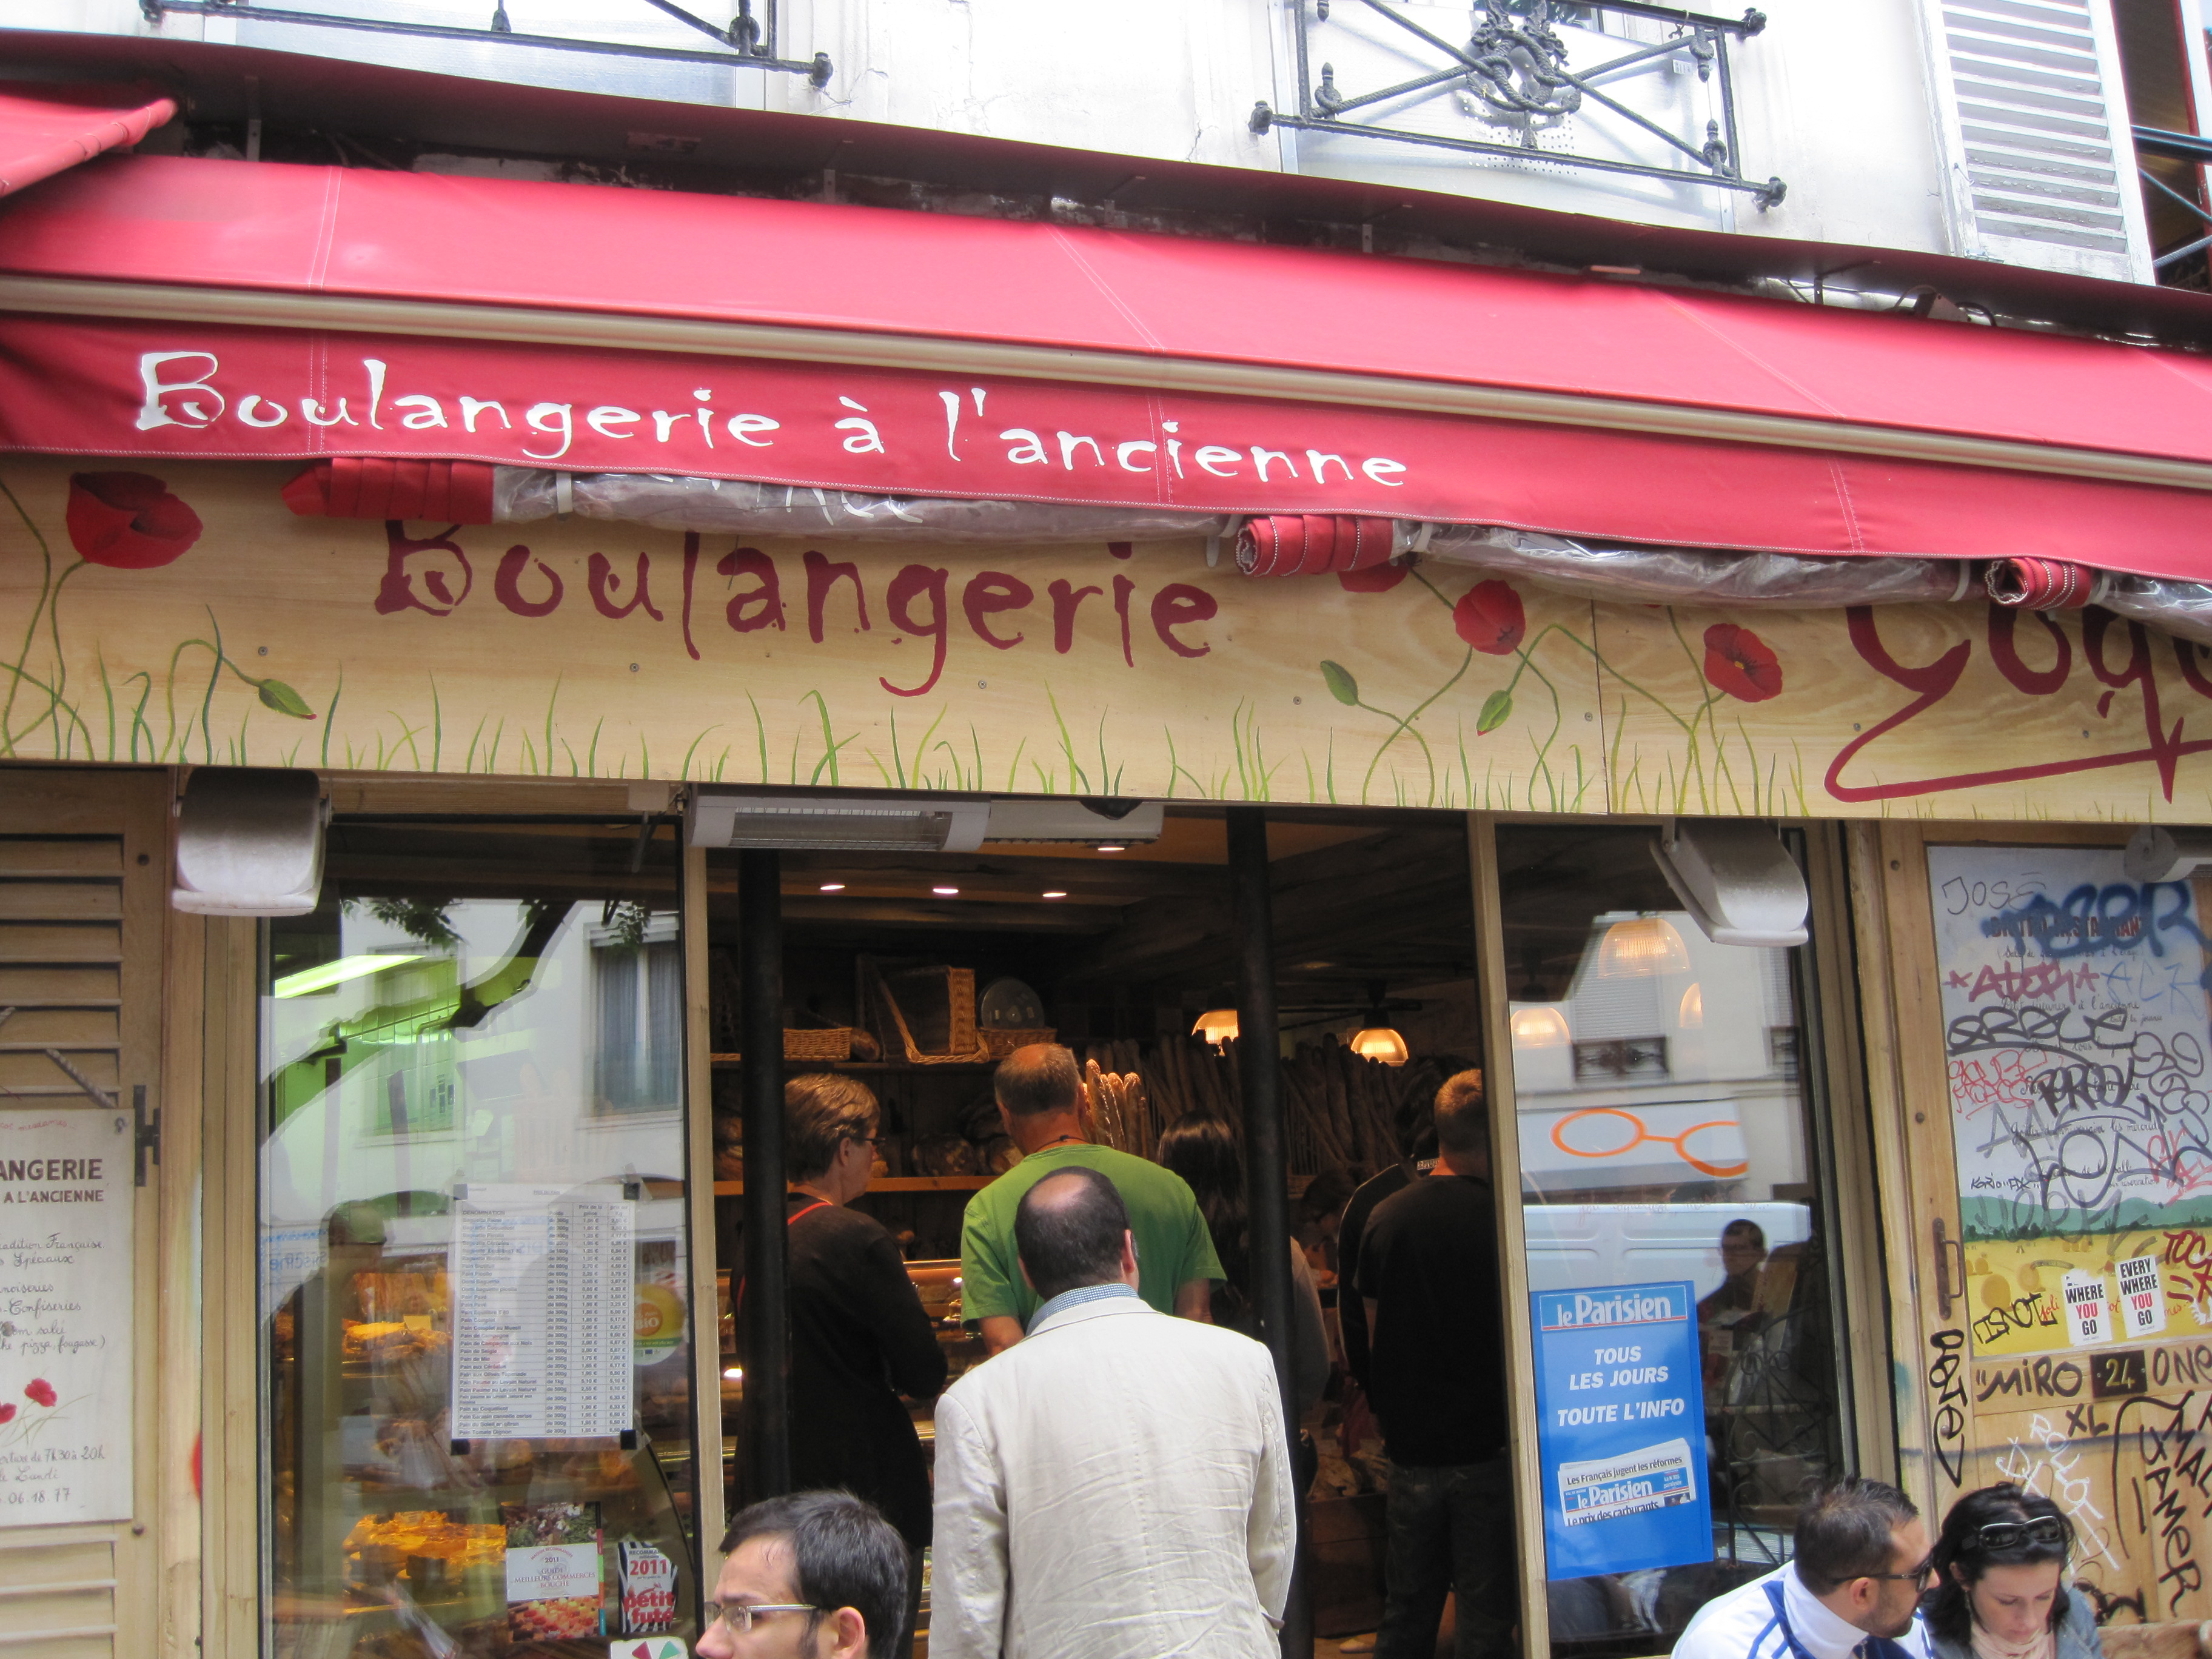
This place churns out baguette, madeleines, and other pastries and breads all day long. We even saw a man in the front of the shop shaping baguettes. If I had timed him, it probably took him about 15 seconds per loaf to shape and throw each baguette onto the industrial-sized baking sheets. We used our olive bread to make sandwiches that day, and it was probably one of the best olive breads I’ve had. The olives had just the right amount of saltiness, and the bread was soft yet springy. With our pâté and cheeses, these sandwiches made the perfect lunch.
In the midst of all of the croissants, baguettes, and macarons, we still needed to have some real meals while in Paris. To be honest, while we did eat at a few good places with great steak frites, creme brulee, and charcuterie, none of them were particularly memorable or worth writing home about. The one exception to this was our visit to the much loved Mariage Frères Maison de Thé.
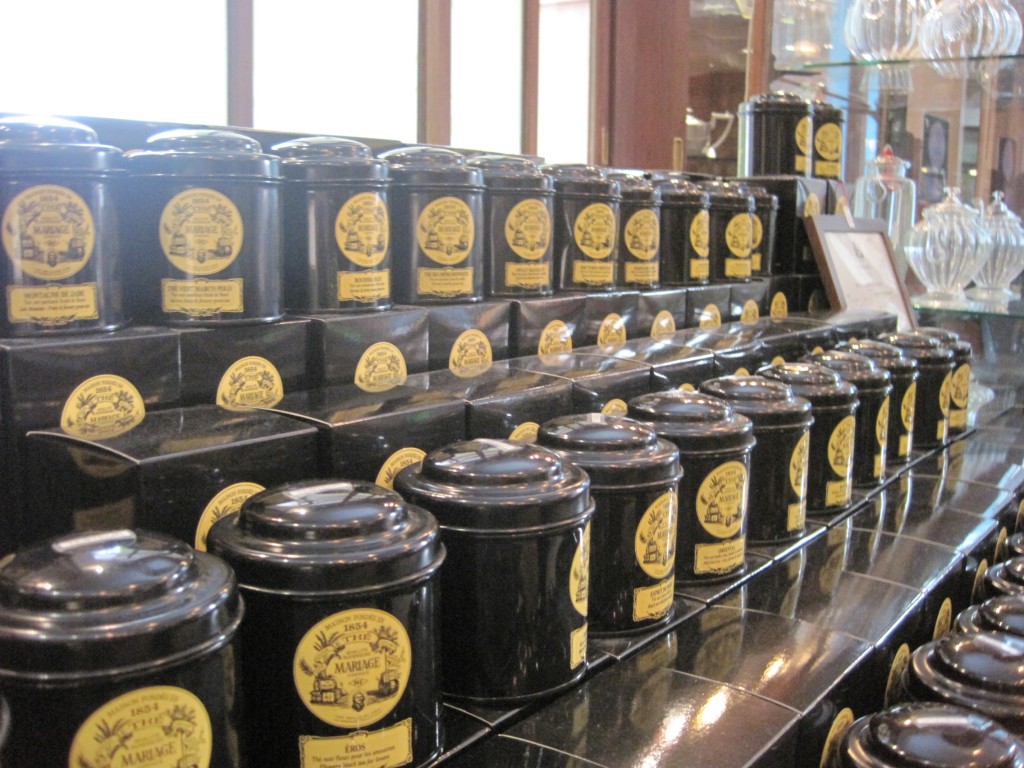
For our last lunch in Paris before jetting off to Rome, I knew we had to visit one of the best tea houses in the world. Mariage Frères has several locations in Paris, as well as in Germany and Japan. Mariage Frères is known by tea connoisseurs for its large selection of teas imported from around the world. Each store is laid out in an apothecary style that makes you feel like you are about to make a purchase that might heal an ailment of some sort that you have. We visited the location in Rive Gauche, which is quietly tucked away on a side street in the area.
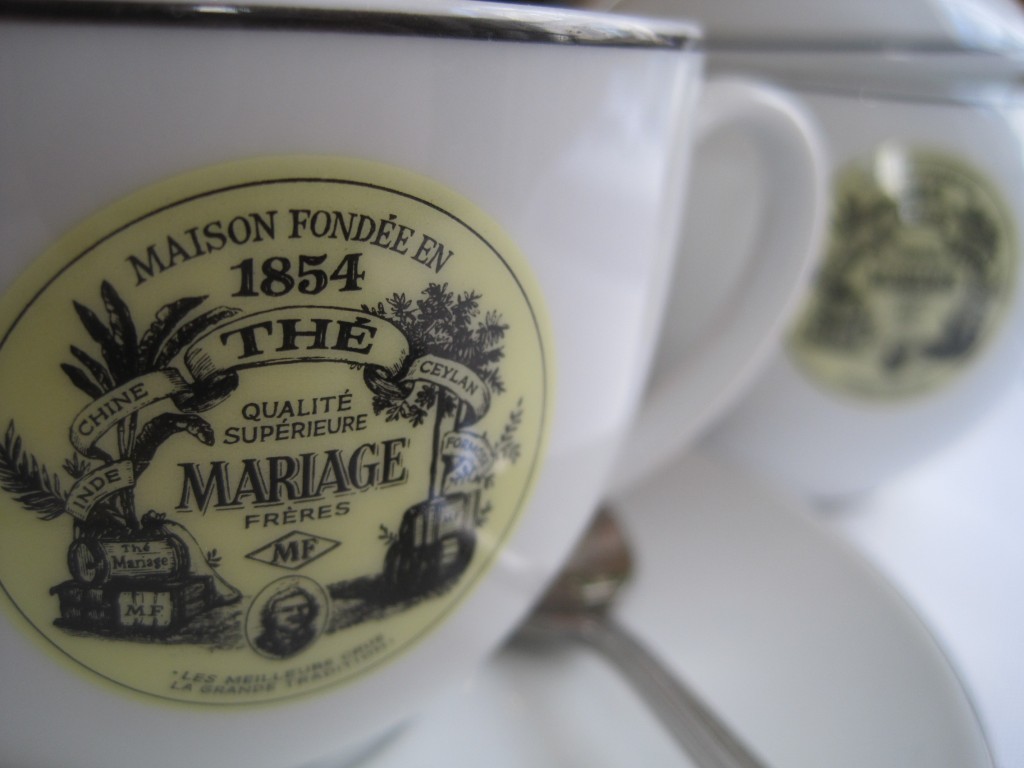
If you visit one of the tea salons like we did, you can have the privilege of enjoying your own pot of their spectacular tea in a relaxing, beautiful setting. In addition, you can also have breakfast, brunch, or pastries and cake here. Of the prix fixe brunch selections (all in French, so practice your reading and speaking skills!) listed, we choose the Green Line and the Lucky Melodies.

The Green Line came with a beef filet tartare, a gazpacho, and a salad of long, elegant romaine leaves and roasted, marinated tomatoes, a glass of Mariages Frere’s very own namesake champagne. Lucky Melodies came with a chicken salad that redefined chicken salad for me – a mix of beautifully cut romaine leaves, radicchio, large slices of chicken breast, red beets, with an intensely fruity olive oil and nut dressing. This salad was like a work of art. Both sets came with freshly squeezed grapefruit and orange juice, a buttery berry scone, and a fruit muffin with Mariage Frères tea-infused fruit jellies and butter.
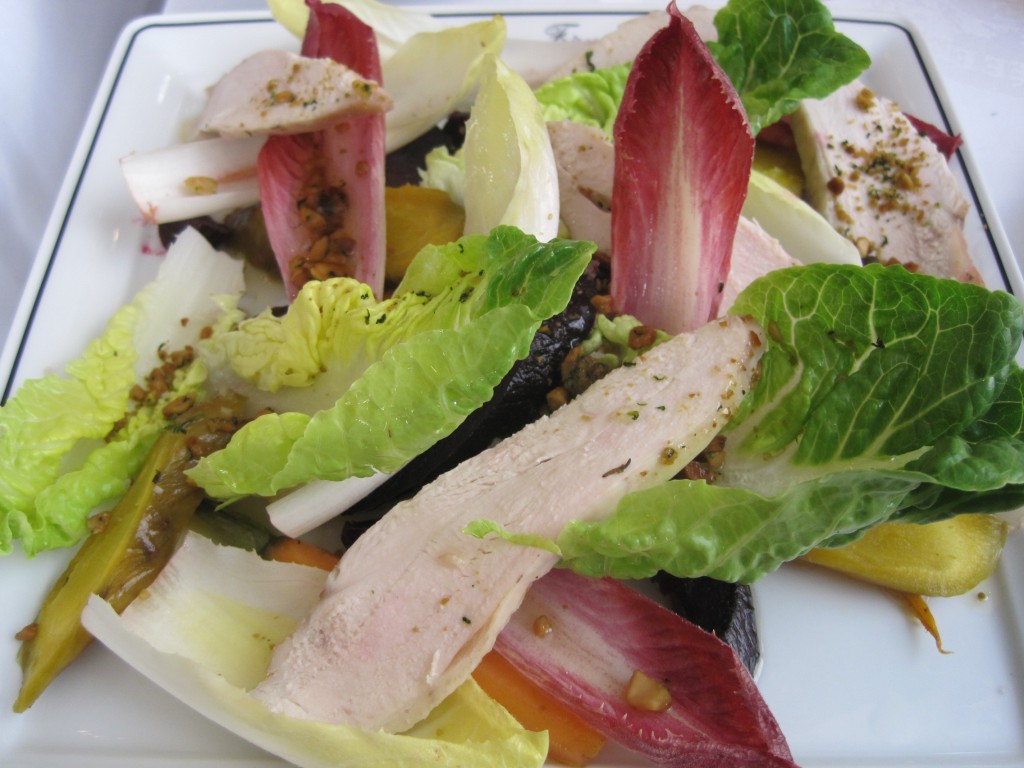
For tea, he had a Sweet Shanghai – a subtle green tea with lychee notes – iced, and I had the Rose d’Himalaya, a first flush Darjeeling tea perfumed with rose petals. The deep red color of the Rose d’Himalaya was so gorgeous in my little tea cup. For dessert, we shared a slice of the matcha green tea tart, which was intensely green tea flavored and silky, and a yuzu tart, which was extremely tart. I don’t think there was a single thing that we did not enjoy the taste or presentation of in this meal. Even the service was impeccable.
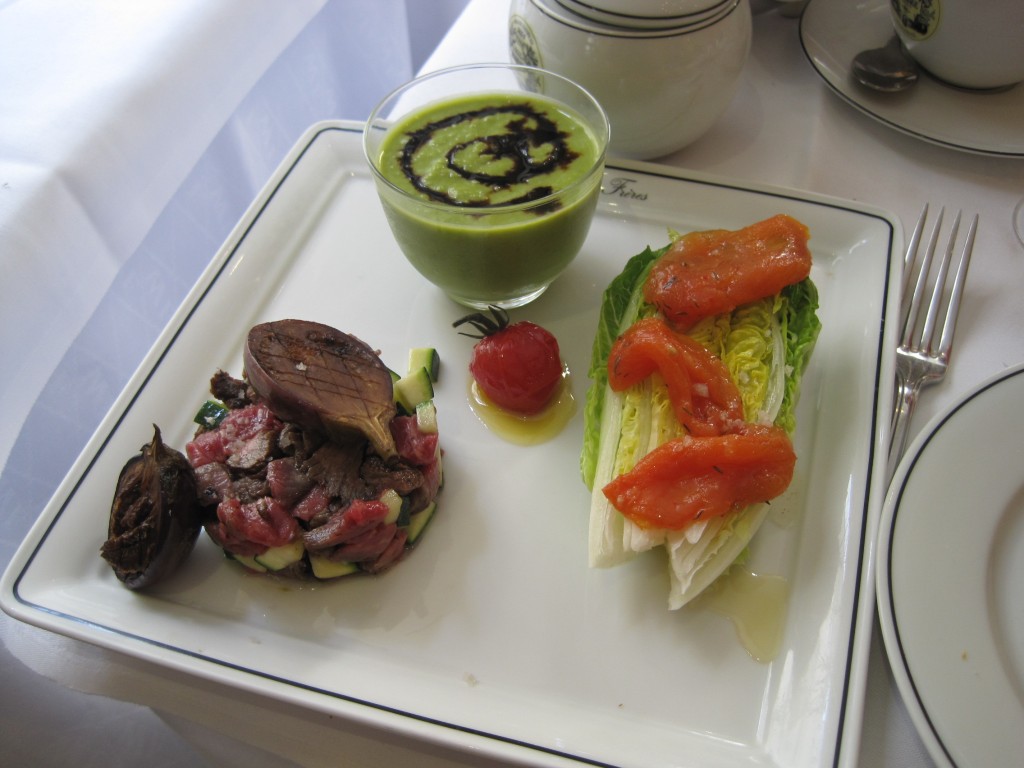
The highlights for the meal were the fruit and tea-infused jams, the chicken salad, the beef tartare, the flute of champagne, which had more depth and complexity than any other glass of champagne or prosecco I’ve ever tasted, and the green tea tart.
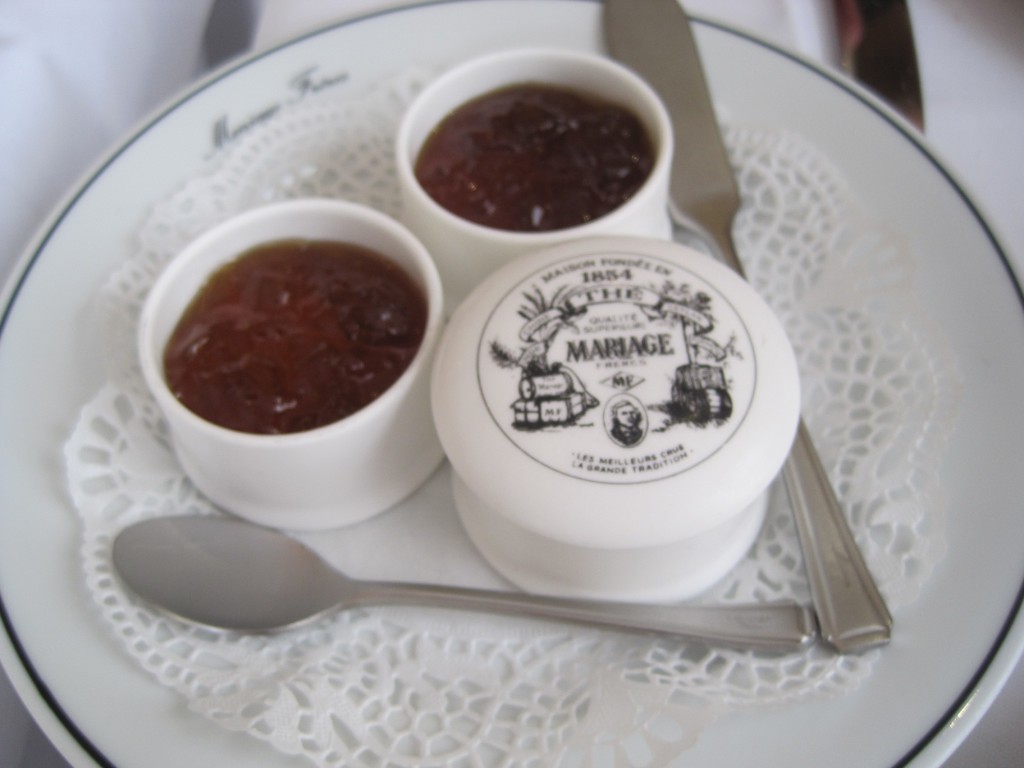
The jams we had with our scones and muffins were amazing. Both had citrusy, floral notes and were infused with tea, and the texture resembled more of a thick jelly than a jam. Every aspect of this meal at the tea salon was memorable, and when I look back on Paris, this was definitely one of the most unforgettable parts of the trip.
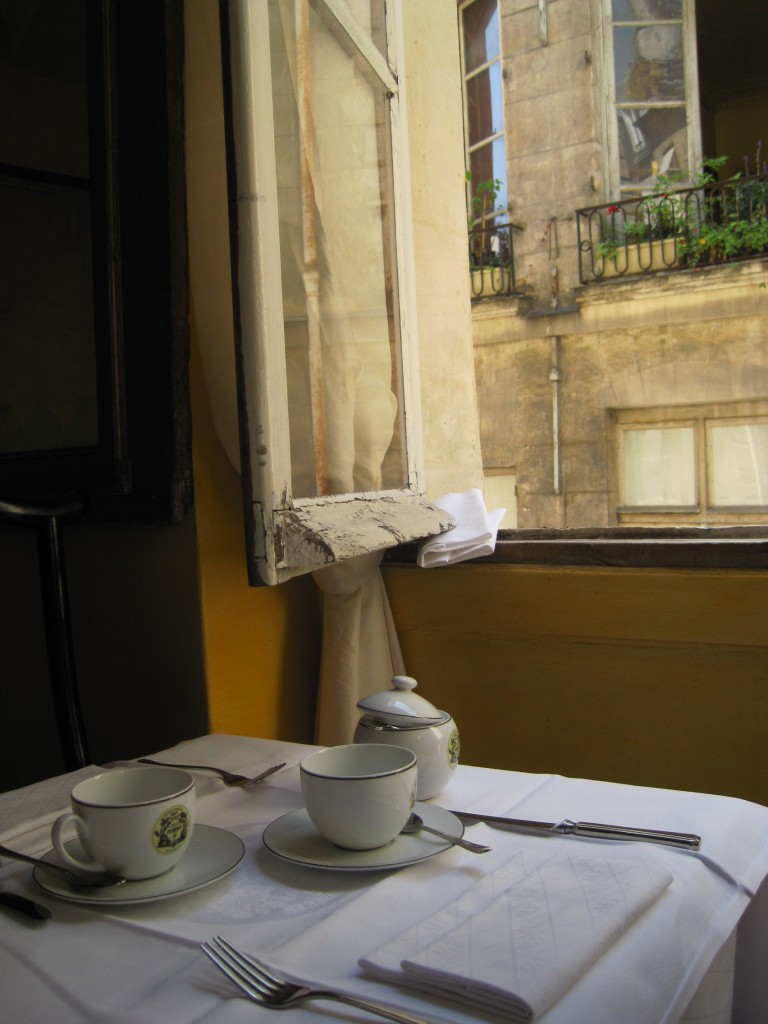
Writing about Paris makes me miss it even more and want to impulsively book a flight to go back there just to sit and linger in the tea salon, enjoying a cup of tea and a scone with one of those succulent fruit gelées. In some ways, my outlook on life has been changed by the time I spent in Europe. There are a lot of little joys in life that we take for granted, and sometimes when things get very chaotic and busy, we tend to forget those little things that make life so amazing. Maybe we would all be a little bit happier and more satisfied if we could just take a short break from this everyday life we live, jet off to Paris, and experience an afternoon of respite in a tea salon as tranquil and beautiful as Mariage Frères’.

Whatever you do when you go to Paris, make sure that you indulge in as many croissants, macarons, baguettes, and tea (if that is your fancy) as possible. Eating in Paris is an experience in itself that everyone should embrace. I certainly did.