The first time I heard about brioche was in 2004 when a good friend wrote in my high school yearbook that she thought I was the best thing since sliced brioche bread. I felt a bit ignorant at the time, since although I knew it was a type of bread, I actually had no idea what it consisted of or why that would make me feel particularly special. This was especially embarrassing for me because I’ve always been a lover of all things sugar and butter related, and being the know-it-all dessert-loving teenager that I was, I thought I knew everything there was to know about buttery breads and desserts.
Brioche is probably the richest, most buttery bread I’ve eaten. It’s a bread that is more commonly known as a pastry because of its extremely high butter content. Enriched with not just lots of butter but also many eggs, it’s certainly not your typical toast on a weekday morning. The average recipe you can find for brioche has a flour-butter ratio of 2:1.
Brioche is the kind of pastry that you have at breakfast or tea when you want to indulge. When made properly, it is all at once flaky, delicate, tender, eggy, and subtly sweet. Brioche dough can be made in multiple forms – as brioche à tête (little heads), loaves, buns, as pain au chocolat – brioche dough is like the Play-Doh of breads, as you could make many different types of beautiful, tasty creations with it. The possibilities are endless.
The key to making flaky, tender brioche is cold, cold, cold; it’s crucial that all of your bowls, utensils, and butter are chilled (it also helps to be cold blooded, as well). The colder the kitchen, the more likely your brioche will be a success. The reason for this is that it is critical that the butter that you are incorporating into the dough has not melted. Pockets of fat need to be evenly distributed throughout the dough to result in butter melting in the oven, which will yield the flakiness that is key to a good brioche. Another way to ensure that the butter has not melted before it reaches the oven is to knead the dough either with cold dough hooks on your standing mixer, or with cold utensils by hand (if you are old school like me and want to knead the dough manually).
Brioche is probably the easiest yeast bread to mess up. The reason for this is that while making it, most people would overlook the fact that the dough needs to be really sticky and would either a) make the mistake above so that all the butter melts into the dough, or b) continue adding flour to the dough for greater ease in hand kneading or preventing the dough from sticking too much to the dough hooks. The first time I made brioche, I made mistake b. The brioche dough was extremely sticky, and being a novice, I continued using my warm hands to knead the dough. Annoyed by the stickiness, I continued adding flour until the dough was easy to handle and no longer stuck to my fingers. Big mistake. In the end, while the brioche looked beautiful on the outside, once I broke apart the bread, I realized that I had just made a glorified challah bread – an eggy bread with some fat, but none of the glorious flakiness that is associated with the true pastry.
The one recipe that I have grown to love and use for multiple brioche pastry desserts is Joanne Chang’s basic brioche. The two simplest ways to enjoy brioche are to eat it just as a plain pastry in the form of a loaf, or to make miniature brioche buns and dip them in a sugar and spice mixture. I’ve included recipes for both forms here. To call making brioche “simple” is a bit misleading, as it takes a lot of time and physical effort to knead the dough. In addition, we need even more time to allow the dough to properly proof twice to allow for that amazing light and airiness that will eventually contribute to the light, tender crumb of the final pastry. This is one of those bread-pastries that needs some advance planning and many patient hours. Wouldn’t we all love to have a piece of fresh, warm brioche from a hot oven every day, though? I’m not sure what satisfies me more – the first bite of the brioche when it is piping hot right out of the oven, or the incredible fragrance that fills the house as the combination of butter, sugar, eggs, and yeast work their magic in my oven.
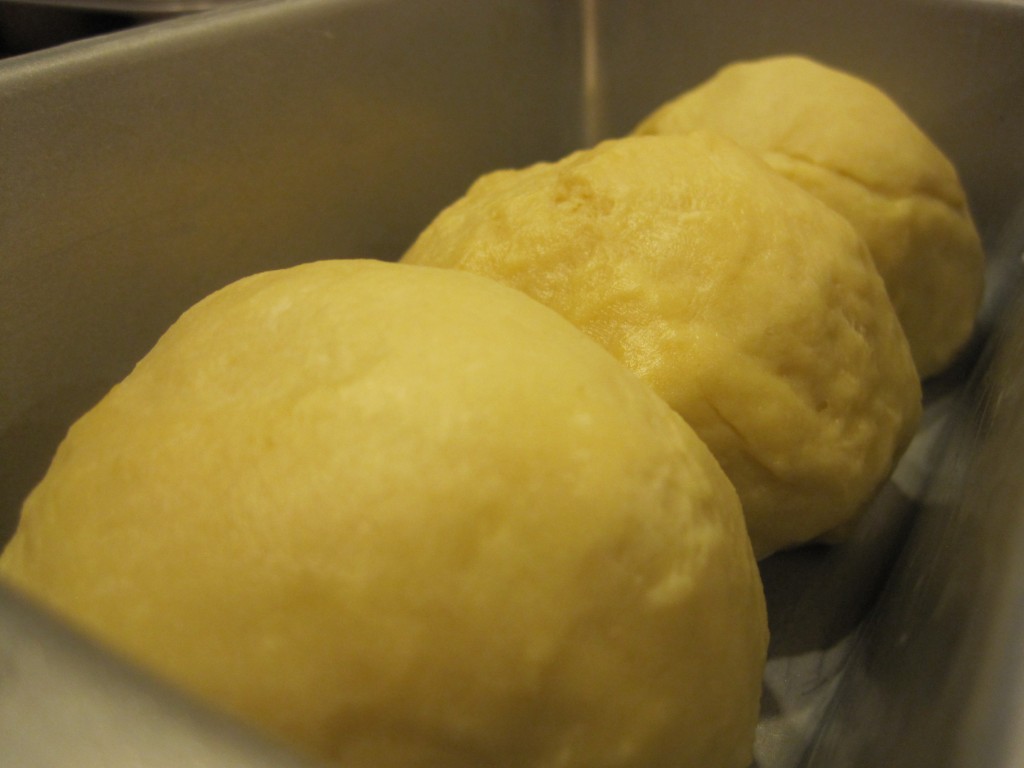
Joanne’s brioche loaf recipe suggests that you form the dough into a simple rectangle, but after seeing many images of loaves with interesting cuts and shapes, I thought it would be fun to shape three balls, combine them, and then cut slits on the top of each ball.
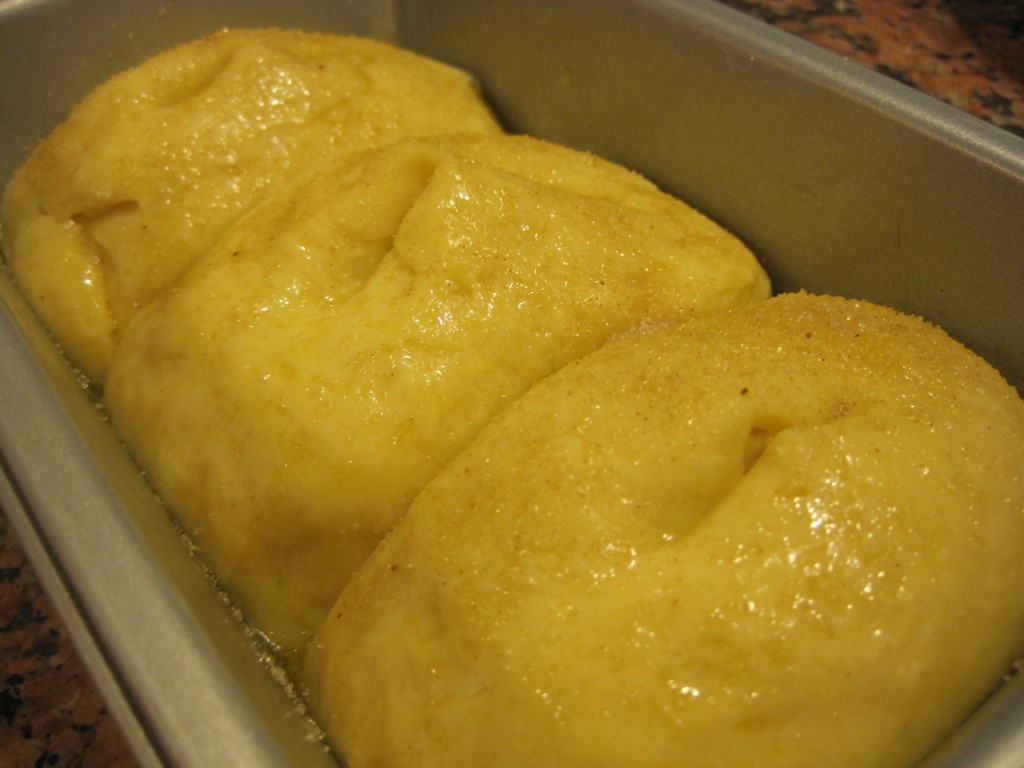
After proofing the second time, cutting slits atop each ball, and sprinkling the top with sugar, this is what the loaf looked like:
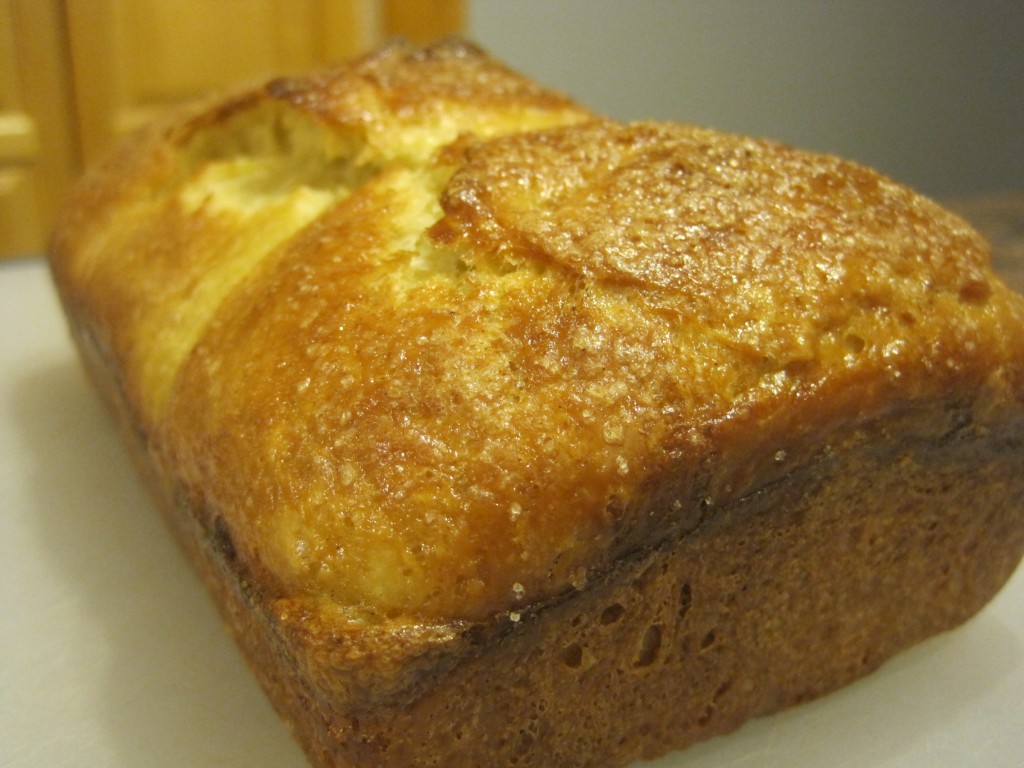
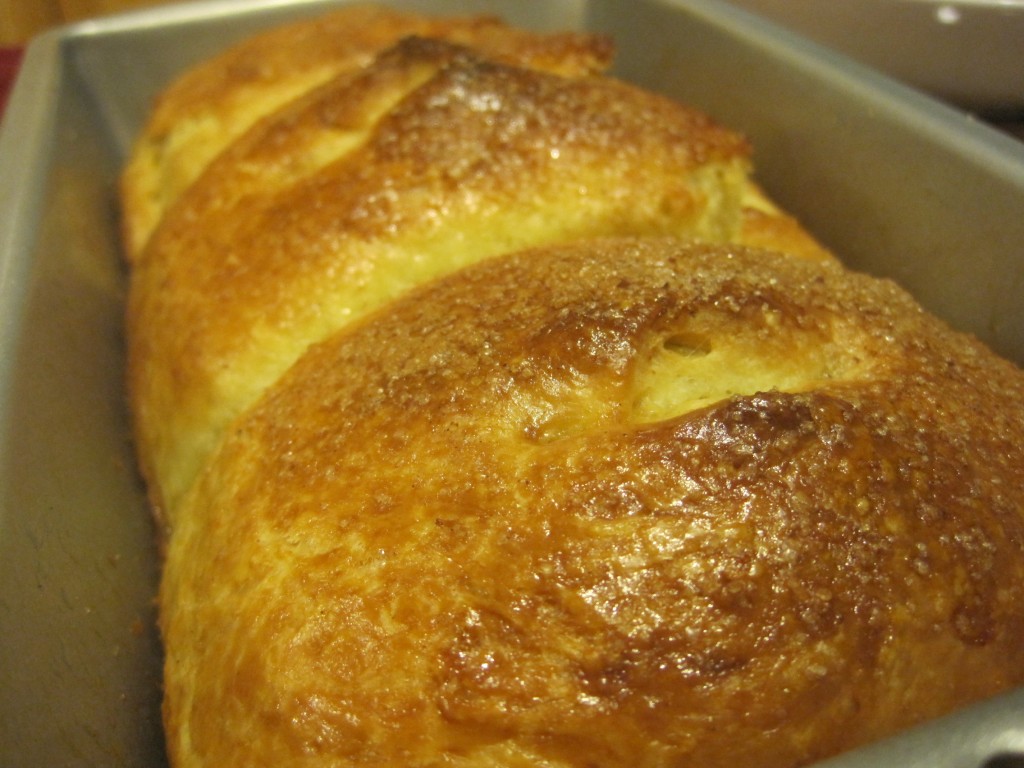
After baking for about 35-45 minutes, this is how my brioche baby turned out – beautifully browned with a happy sheen:
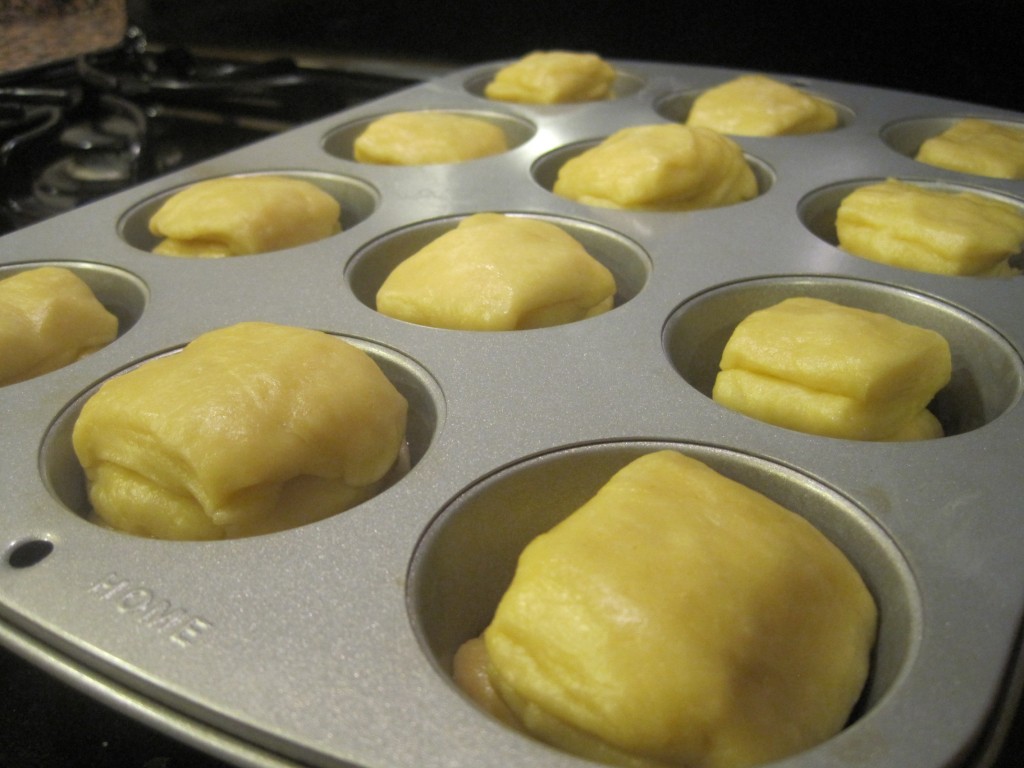
With the second half of the dough, I made the sugar and spice brioche buns from Joanne’s book.
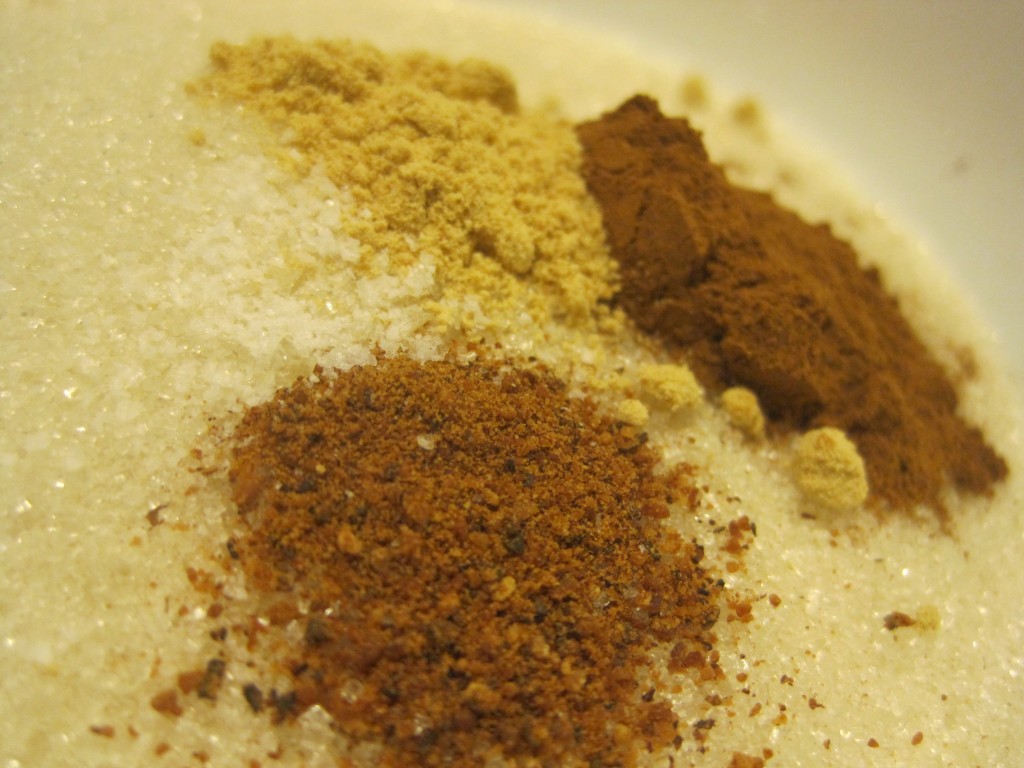
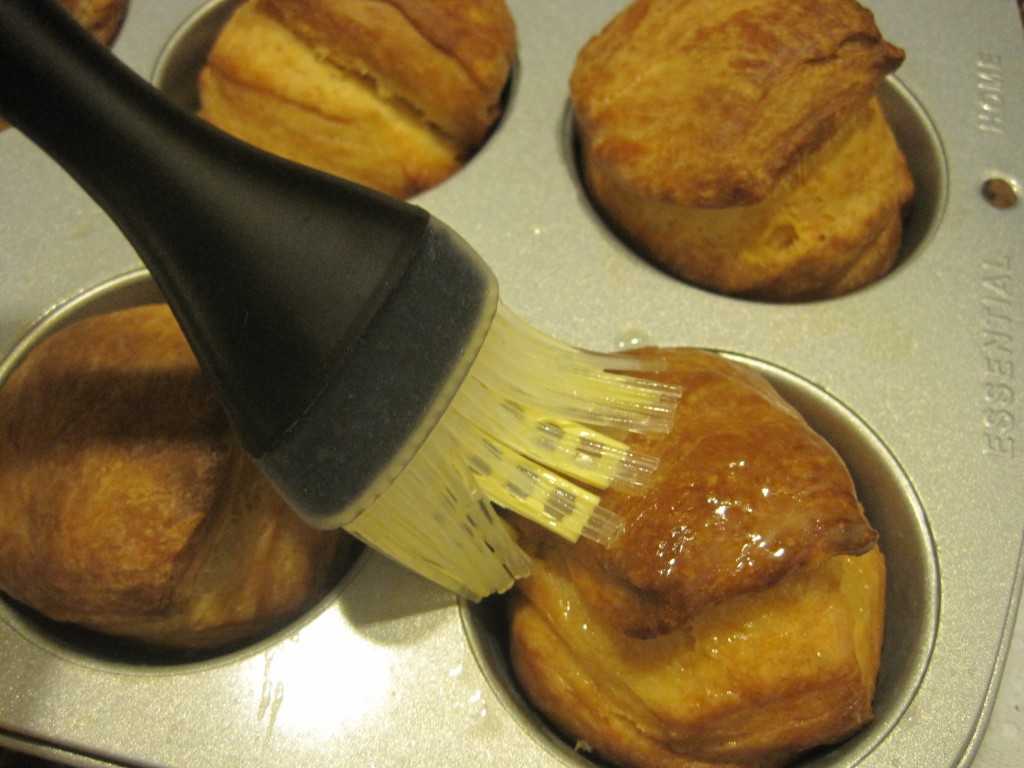
After they came out of the oven, I dipped each bun into butter and rolled them in the cinnamon, nutmeg, ground ginger, and sugar mixture:
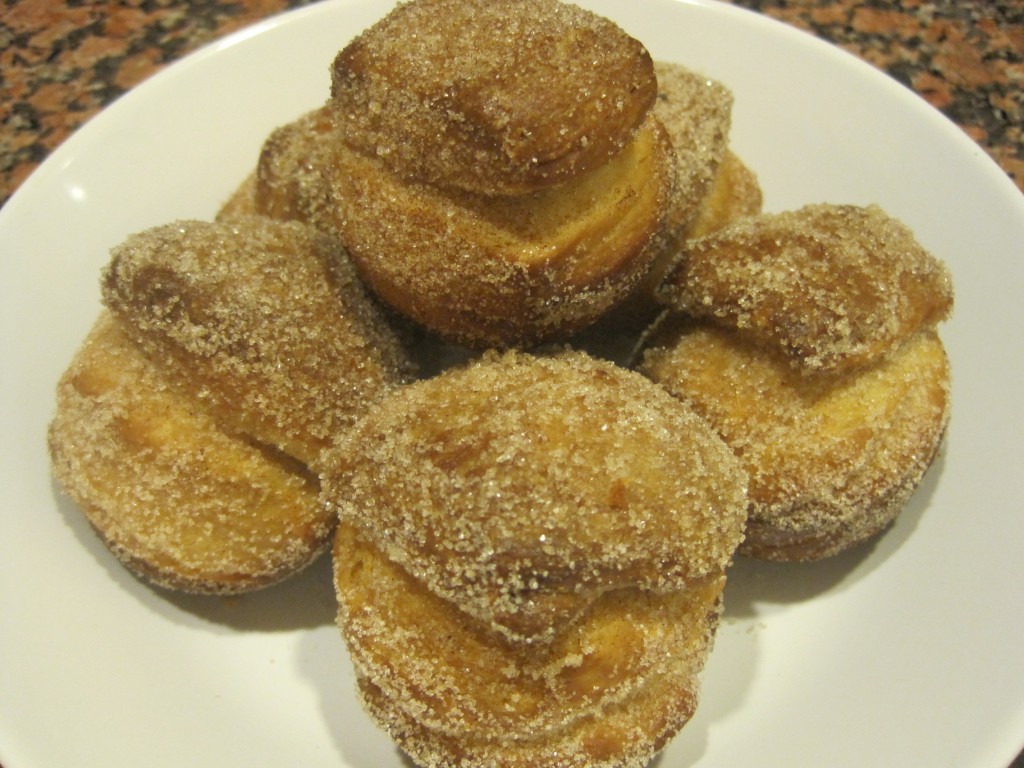
After the butter brushing and the sugar and spice rolling, this is what I eventually presented to my friends:
Both methods are the simplest ways to enjoy brioche. If only someone would present me with fresh brioche every week, maybe I would smile that much more. I guess I can either keep dreaming, or treat myself and make my own dreamy pillows of buttery, sugary delight.
Basic Brioche Adapted from Flour: Spectacular Recipes from Boston’s Flour Bakery & Café by Joanne Chang
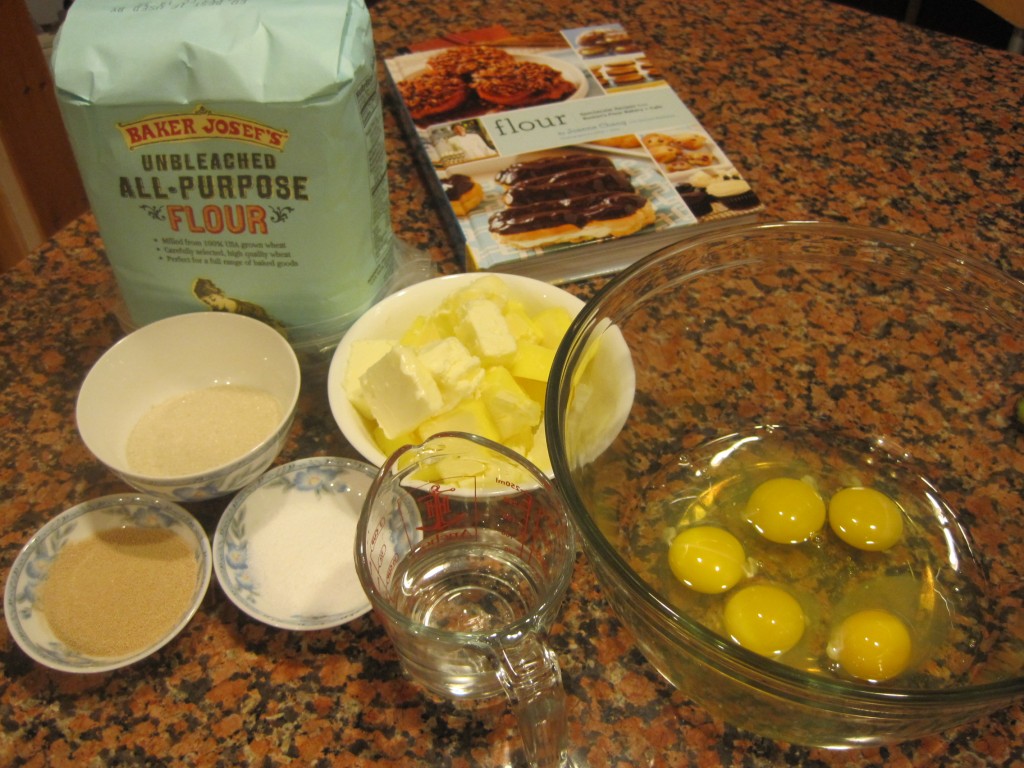
- 2 1/2 cups (350 grams) unbleached all-purpose flour, plus more if needed
- 2 1/4 cups (340 grams) bread flour
- 1 1/2 packages (3 1/4 teaspoons) active dry yeast or 1-ounce (28 grams) fresh cake yeast
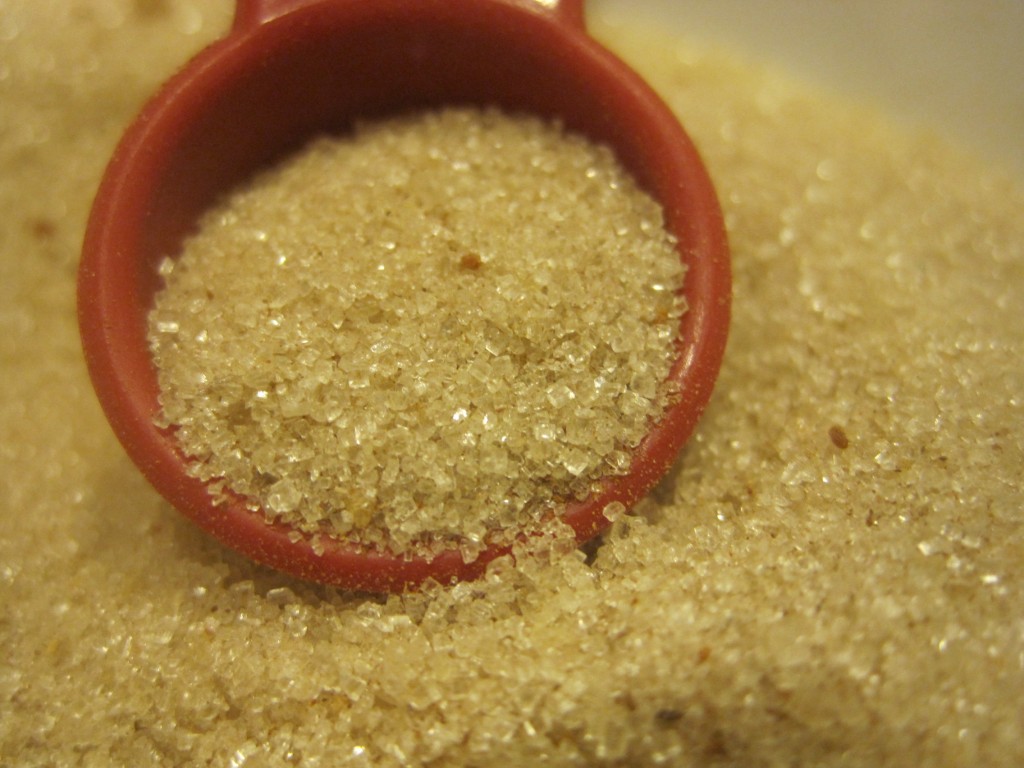
- 1/3 cup plus 1 tablespoon (82 grams) sugar
- 1 tablespoon kosher salt
- 1/2 cup cold water
- 6 eggs
- 1 3/8 cups (2 3/4 sticks; 310 grams) unsalted butter, at room temperature, cut into 10 to 12 pieces
Using a stand mixer fitted with the dough hook, combine the all-purpose flour, bread flour, yeast, sugar, salt, water, and 5 of the eggs. Beat on low speed for 3 to 4 minutes, or until all the ingredients are combined. Stop the mixer, as needed, to scrape the sides and bottom of the bowl to make sure all the flour is incorporated into the wet ingredients.
Once the dough has come together, beat on low speed for another 3 to 4 minutes. The dough will be very stiff and seem quite dry.
With the mixer on low speed, add the butter, 1 piece at a time, mixing after each addition until it disappears into the dough. Continue mixing on low speed for about 10 minutes, stopping the mixer occasionally to scrape the sides and bottom of the bowl. It is important for all the butter to be thoroughly mixed into the dough. If necessary, stop the mixer occasionally and break up the dough with your hands to help mix in the butter.
Once the butter is completely incorporated, turn up the speed to medium and beat until the dough becomes sticky, soft, and somewhat shiny, another 15 minutes. It will take some time to come together. It will look shaggy and questionable at the start and then eventually it will turn smooth and silky. Turn the speed to medium-high and beat for about 1 minute. You should hear the dough make a slap-slap-slap sound as it hits the sides of the bowl. Test the dough by pulling at it; it should stretch a bit and have a little give. If it seems wet and loose and more like a batter than a dough, add a few tablespoons of flour and mix until it comes together. If it breaks off into pieces when you pull at it, continue to mix on medium speed for another 2 to 3 minutes, or until it develops more strength and stretches when you grab it. It is ready when you can gather it all together and pick it up in 1 piece.
Put the dough in a large bowl or plastic container and cover it with plastic wrap, pressing the wrap directly onto the surface of the dough. Let the dough proof (that is, grow and develop flavor) in the refrigerator for at least 6 hours or up to overnight At this point you can freeze the dough in an airtight container for up to 1 week.
To make two brioche loaves, generously the bottom and sides of two 9-by-5-inch loaf pans with butter. Divide the dough in half, and then divide each half into three pieces. The dough will feel like cold, clammy Play-Doh. Knead each piece of dough, then form each into a ball. Place three balls of dough into each loaf pan so that the dough balls are touching.
Cover the loaves lightly with plastic wrap and place in a warm spot to proof for 4 to 5 hours, or until the loaves have nearly doubled in size. They should have risen to the rim of the pan and be rounded on the top. When you poke at the dough, it should feel soft, pillowy, and light, as if it’s filled with air (because it is!).
Position the rack in the center of the oven, and preheat it to 350 degrees F.
With a pair of kitchen scissors, cut a slit into the top of each ball of dough. Each loaf should have three slits.
In a small bowl, whisk the remaining egg until blended. Gently brush the tops of the loaves with the beaten egg. Add a sprinkling of sugar if you’d like to the top for some crunch.
Bake for 35-45 minutes, or until the tops and sides of the loaves are completely golden brown. Let cool in the pans on wire racks for 30 minutes, then turn the loaves out of the pans and continue to cool on the racks.
The bread can be stored tightly wrapped in plastic wrap at room temperature for up to 3 days (if it is older than 3 days, try toasting it) or in the freezer for up to a month.
Sugar & Spice Brioche Buns Adapted from Flour: Spectacular Recipes from Boston’s Flour Bakery & Café by Joanne Chang
- ½ recipe Basic Brioche Dough
- ½ cup (100 grams) sugar
- ½ teaspoon ground cinnamon
- ¼ teaspoon ground ginger
- ¼ teaspoon freshly grated nutmeg
- Pinch of ground cloves
- Pinch of kosher salt
- ¼ cup (1/2 stick/56 grams) unsalted butter, melted
Line 10 cups of a standard 12-cup muffin tin with paper liners or generously butter and flour them.
On a floured work surface, press the dough into a rectangle about 10 by 5 inches. It will have the consistency of cold, damp Play-Doh and should be fairly easy to shape. Using a bench scraper or a chef’s knife, cut the rectangle into 10 equal strips, each about 1 by 5 inches. Cut each strip into five 1-inch squares. You should have fifty 1-inch mini squares of dough.
Place 5 mini squares of brioche into each prepared muffin cup. Cover the pastries lightly with plastic wrap and place in a warm spot to proof for about 1.5 hours, or until the dough is puffy, pillowy, and soft.
Position a rack in the center of the oven, and heat the oven to 350 degrees F.
Bake for about 35-40 minutes, or until golden brown. Let the buns cool in the pan on a wire rack for 5 to 10 minutes, or until they are cool enough to handle. Meanwhile, in a small bowl, stir together the sugar, cinnamon, ginger, nutmeg, cloves, and salt.
When the buns can be handled, brush the tops with the butter. If you have used paper liners, remove the buns from the liners. One at a time, roll each warm bun in the sugar mixture to coat evenly.
The buns are best served warm or within 4 hours of baking. They can be stored in an airtight container at room temperature for up to 1 day, and then warmed in a 300-degree F oven for 5 minutes before serving.

